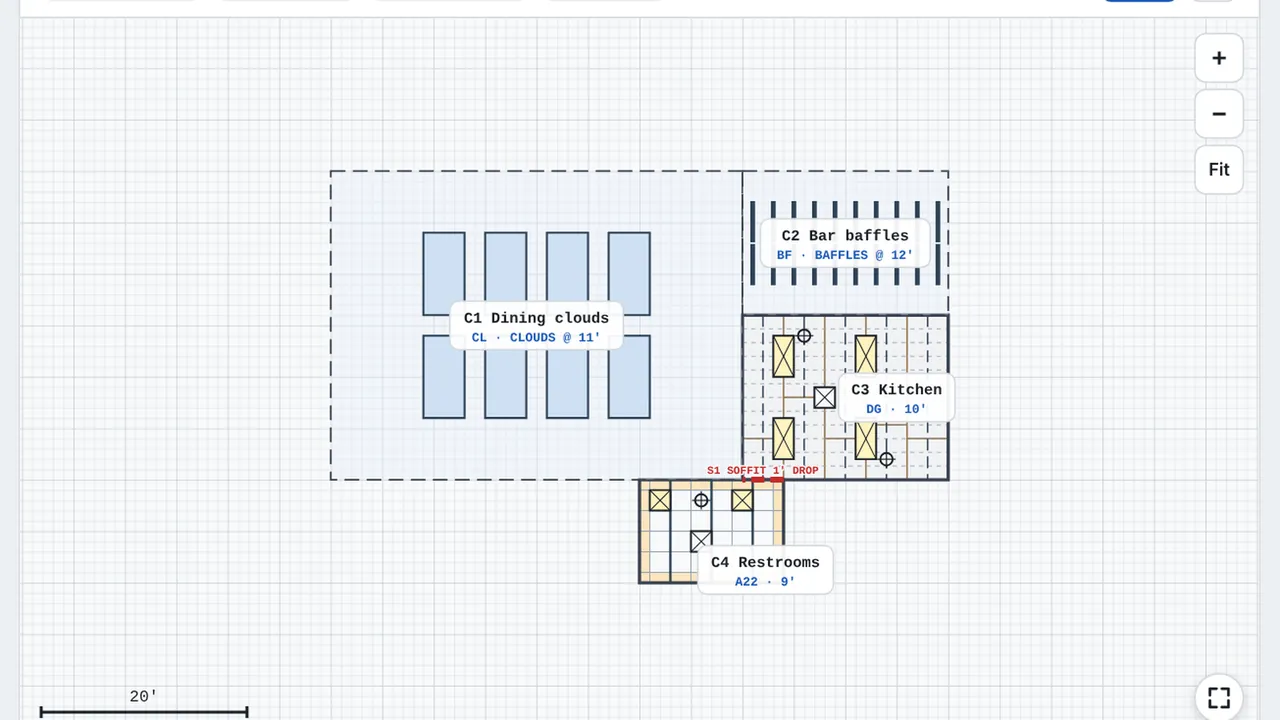
1Step 1: Start from the Restaurant sample
The Ceiling Designer does feature ceilings: clouds, baffles, linear wood, wood slats and wood T&G. Tap New design and start from the Restaurant sample.

Chapter 26 · Ceiling DesignerBeta
From the designer's Restaurant sample: acoustic clouds in the dining room and baffles at the bar, the gaps in Rules, then a lobby in linear wood, an entry in T&G and a wood slat grille drawn in. What each one counts and prices, and the Submittal set on 11x17 shop sheets in Seismic Design Category D, with the cover, the typical details, the ceiling areas and the grille.
In the designer, tap Open project and pick the sample file. It opens exactly as in the video.
The Ceiling Designer does feature ceilings: clouds, baffles, linear wood, wood slats and wood T&G. Tap New design and start from the Restaurant sample.
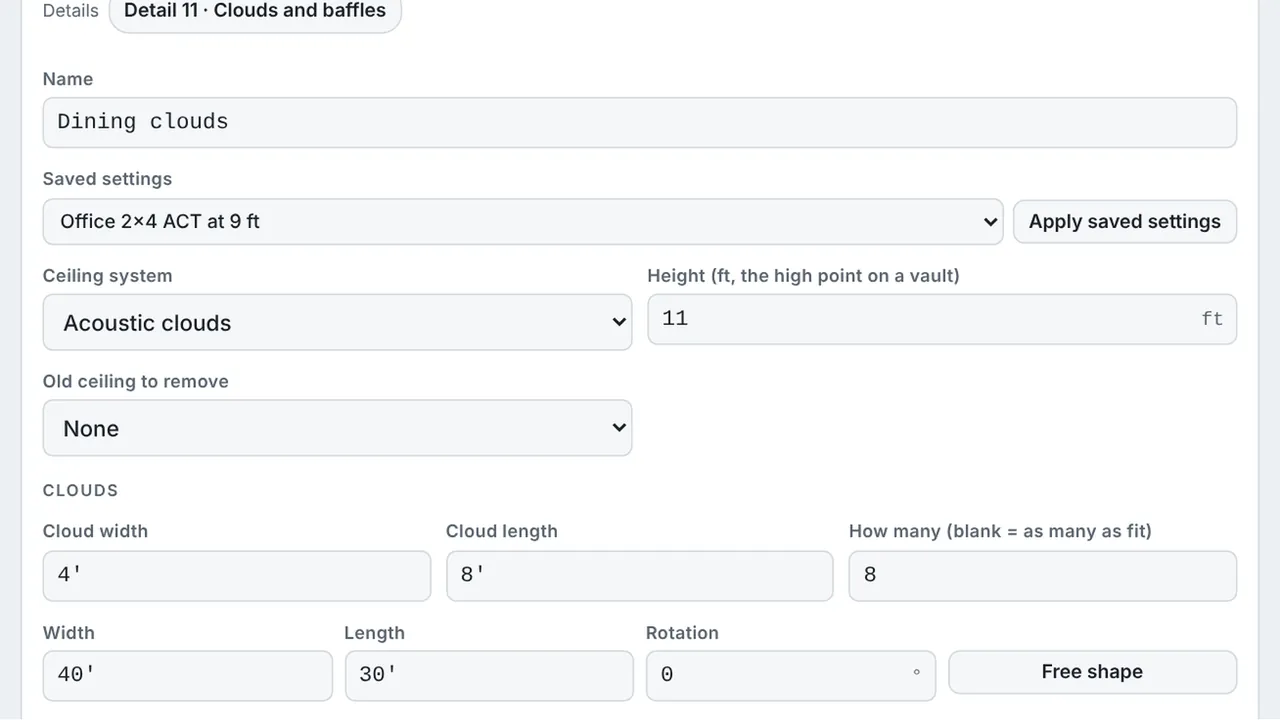
Tap the dining room: its ceiling system is Acoustic clouds. Set the cloud size, 4 by 8, and how many (8 here). Leave How many blank and it fits as many as the room takes. It counts the clouds, their square feet and a cable kit each.
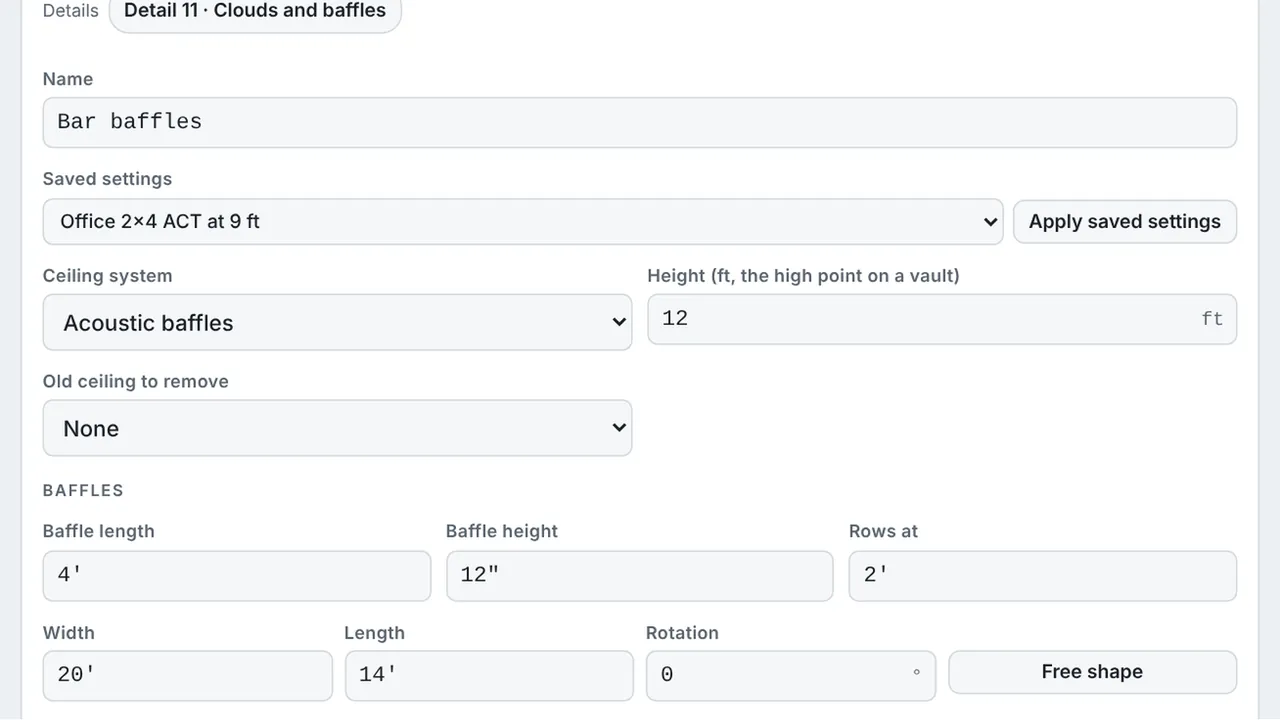
Tap the bar: Acoustic baffles, 4 feet long and 12 inches high, in rows 2 feet apart. It counts the baffles and their cable kits.
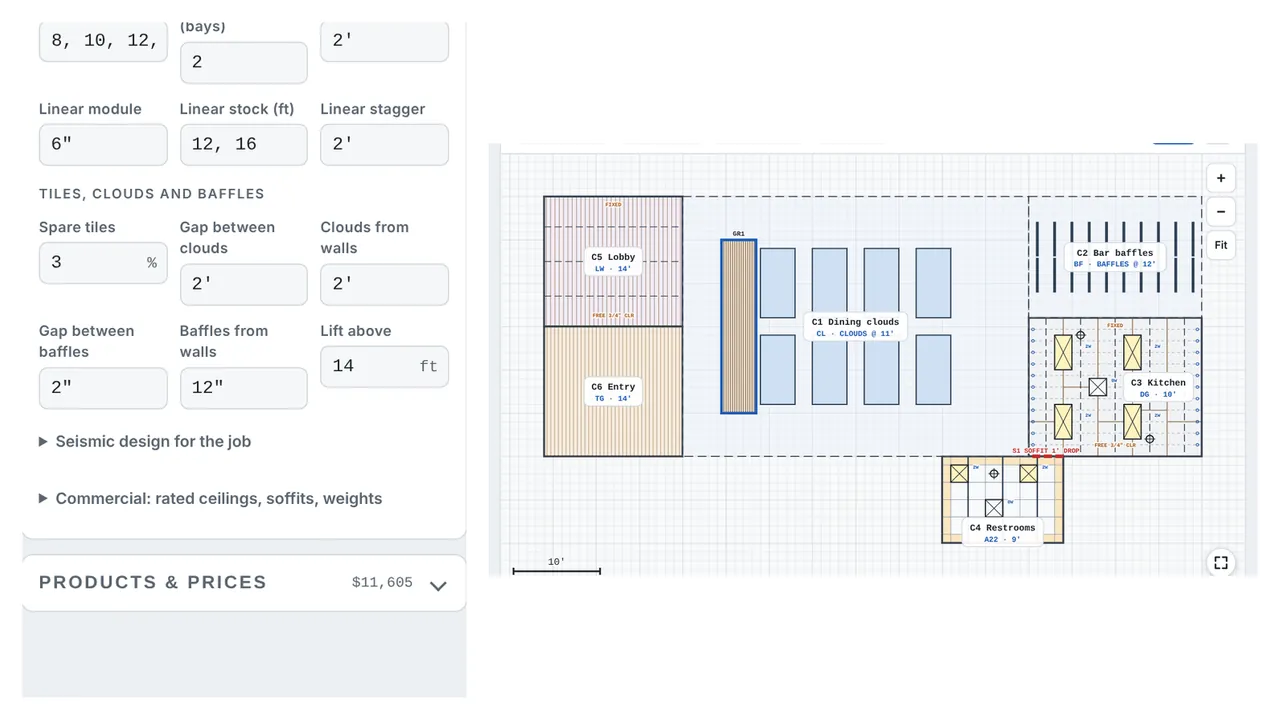
The gaps are in Rules, under Tiles, clouds and baffles: 2 feet between clouds and from the walls, 2 inches between baffles, and 12 inches from the walls.
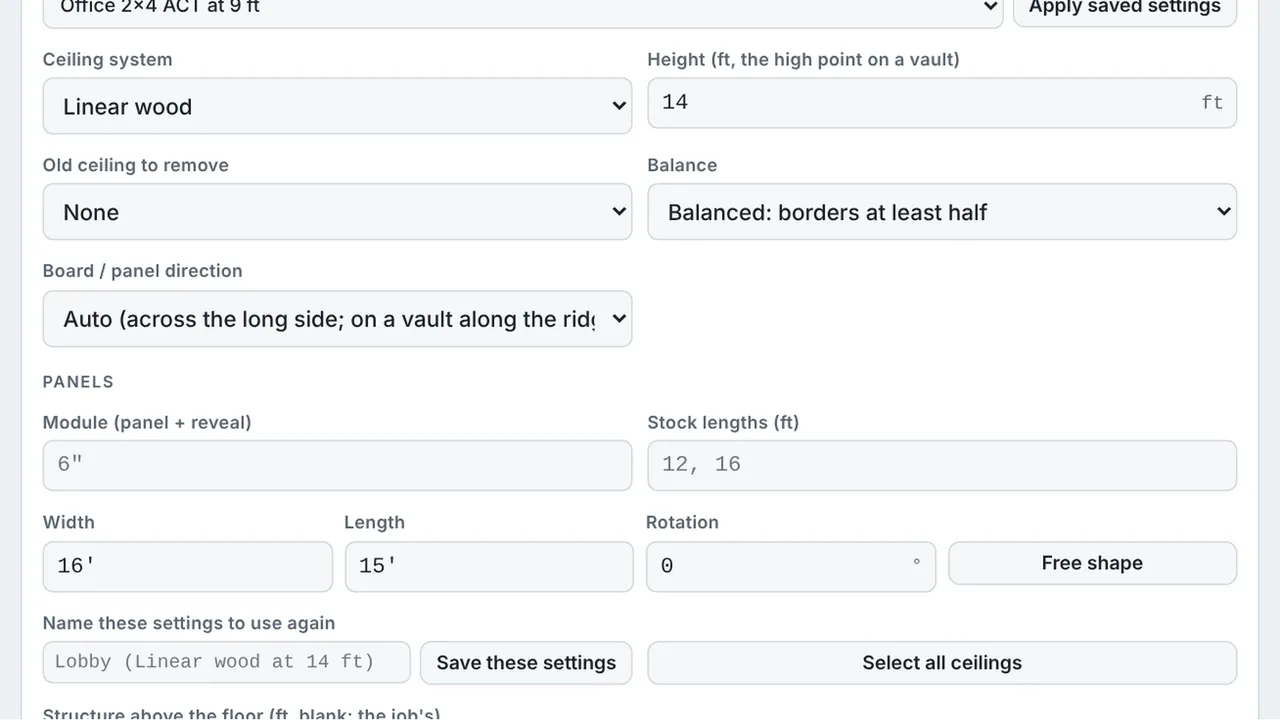
Pick Ceiling and drag out the area. Name it Lobby and apply the saved setting Lobby linear wood at 14 ft, then set the module and your stock lengths. The panels nest into the stock with staggered joints, on carriers at 48 inches.
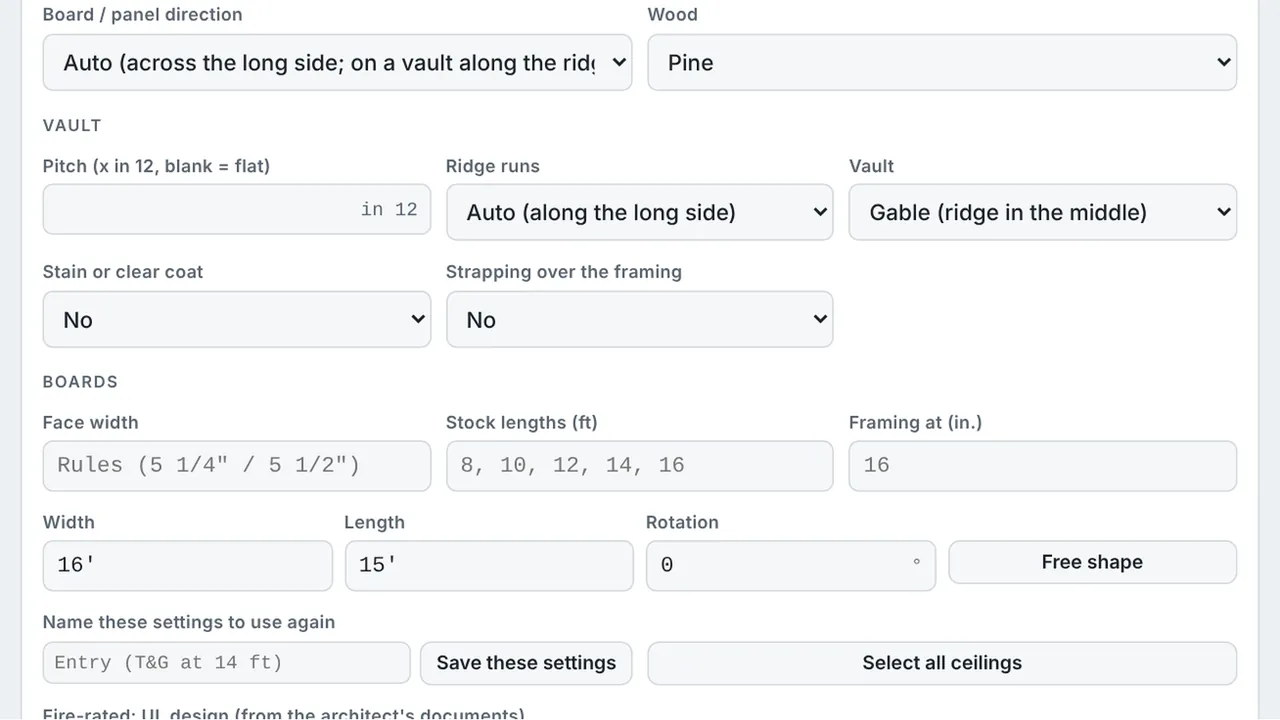
T&G works the same way: draw the area and pick T&G wood, then set the species, the face width, the stock lengths and the framing. The boards are nested so the joints land on framing, staggered from row to row.
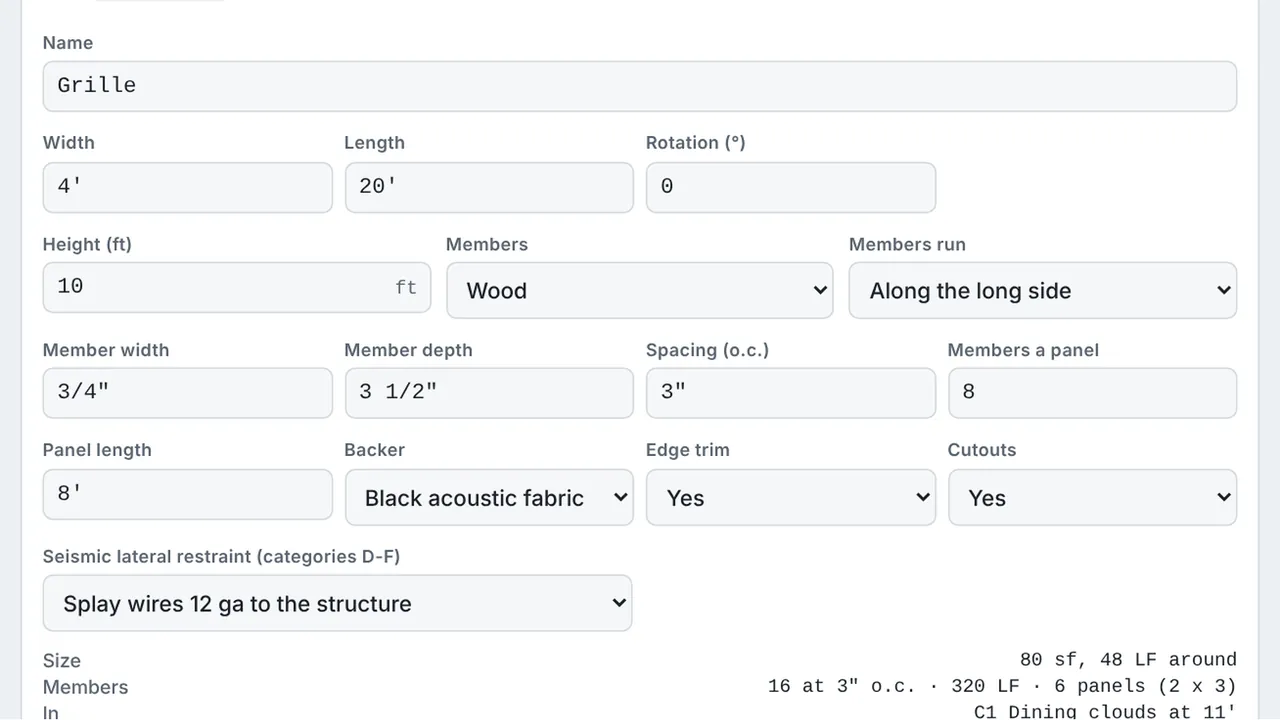
Tap Grille and drag it out, then size it (4′ by 20′). Members are 3/4″ by 3 1/2″ at 3″ on center, eight to a panel, on 8-foot panels over black acoustic fabric. It counts the members, the linear feet and the panels.
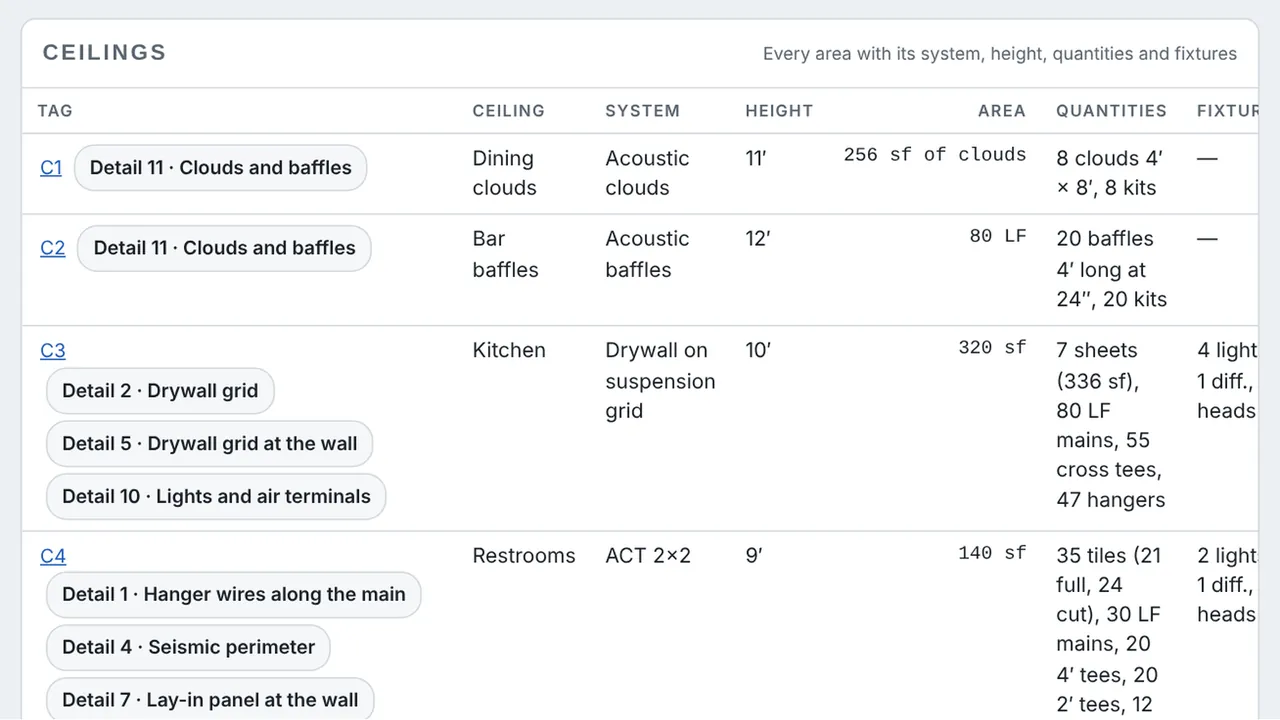
It all lands in the Ceilings schedule and the Buy list at your prices: cloud panels and cable kits, baffles, linear panels and carriers, boards, and grille members. Send to BidRidge carries it into your estimate.
Open the Drawing set. Set Project type to Commercial and, under Rules > Seismic design for the job, the seismic design category (D here, from the structural drawings). Then set Sheets for to the Submittal set and the format to Shop sheets, 11×17, and Preview sheets.
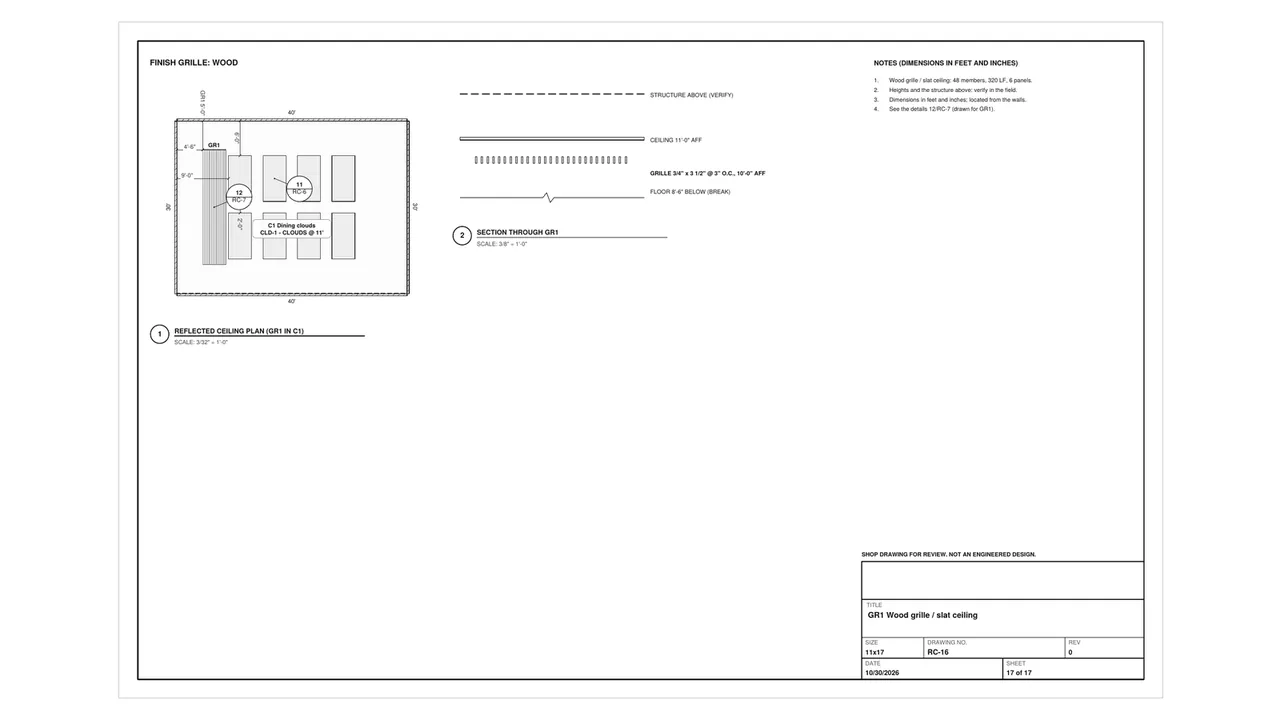
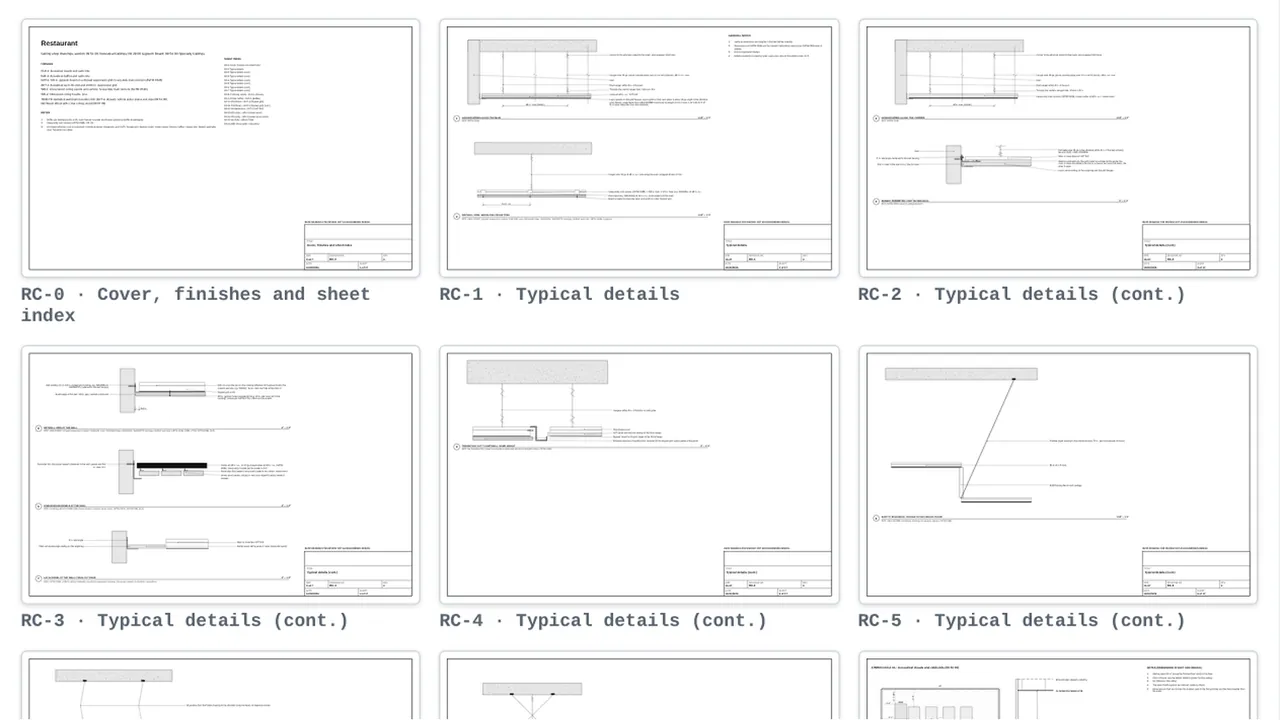
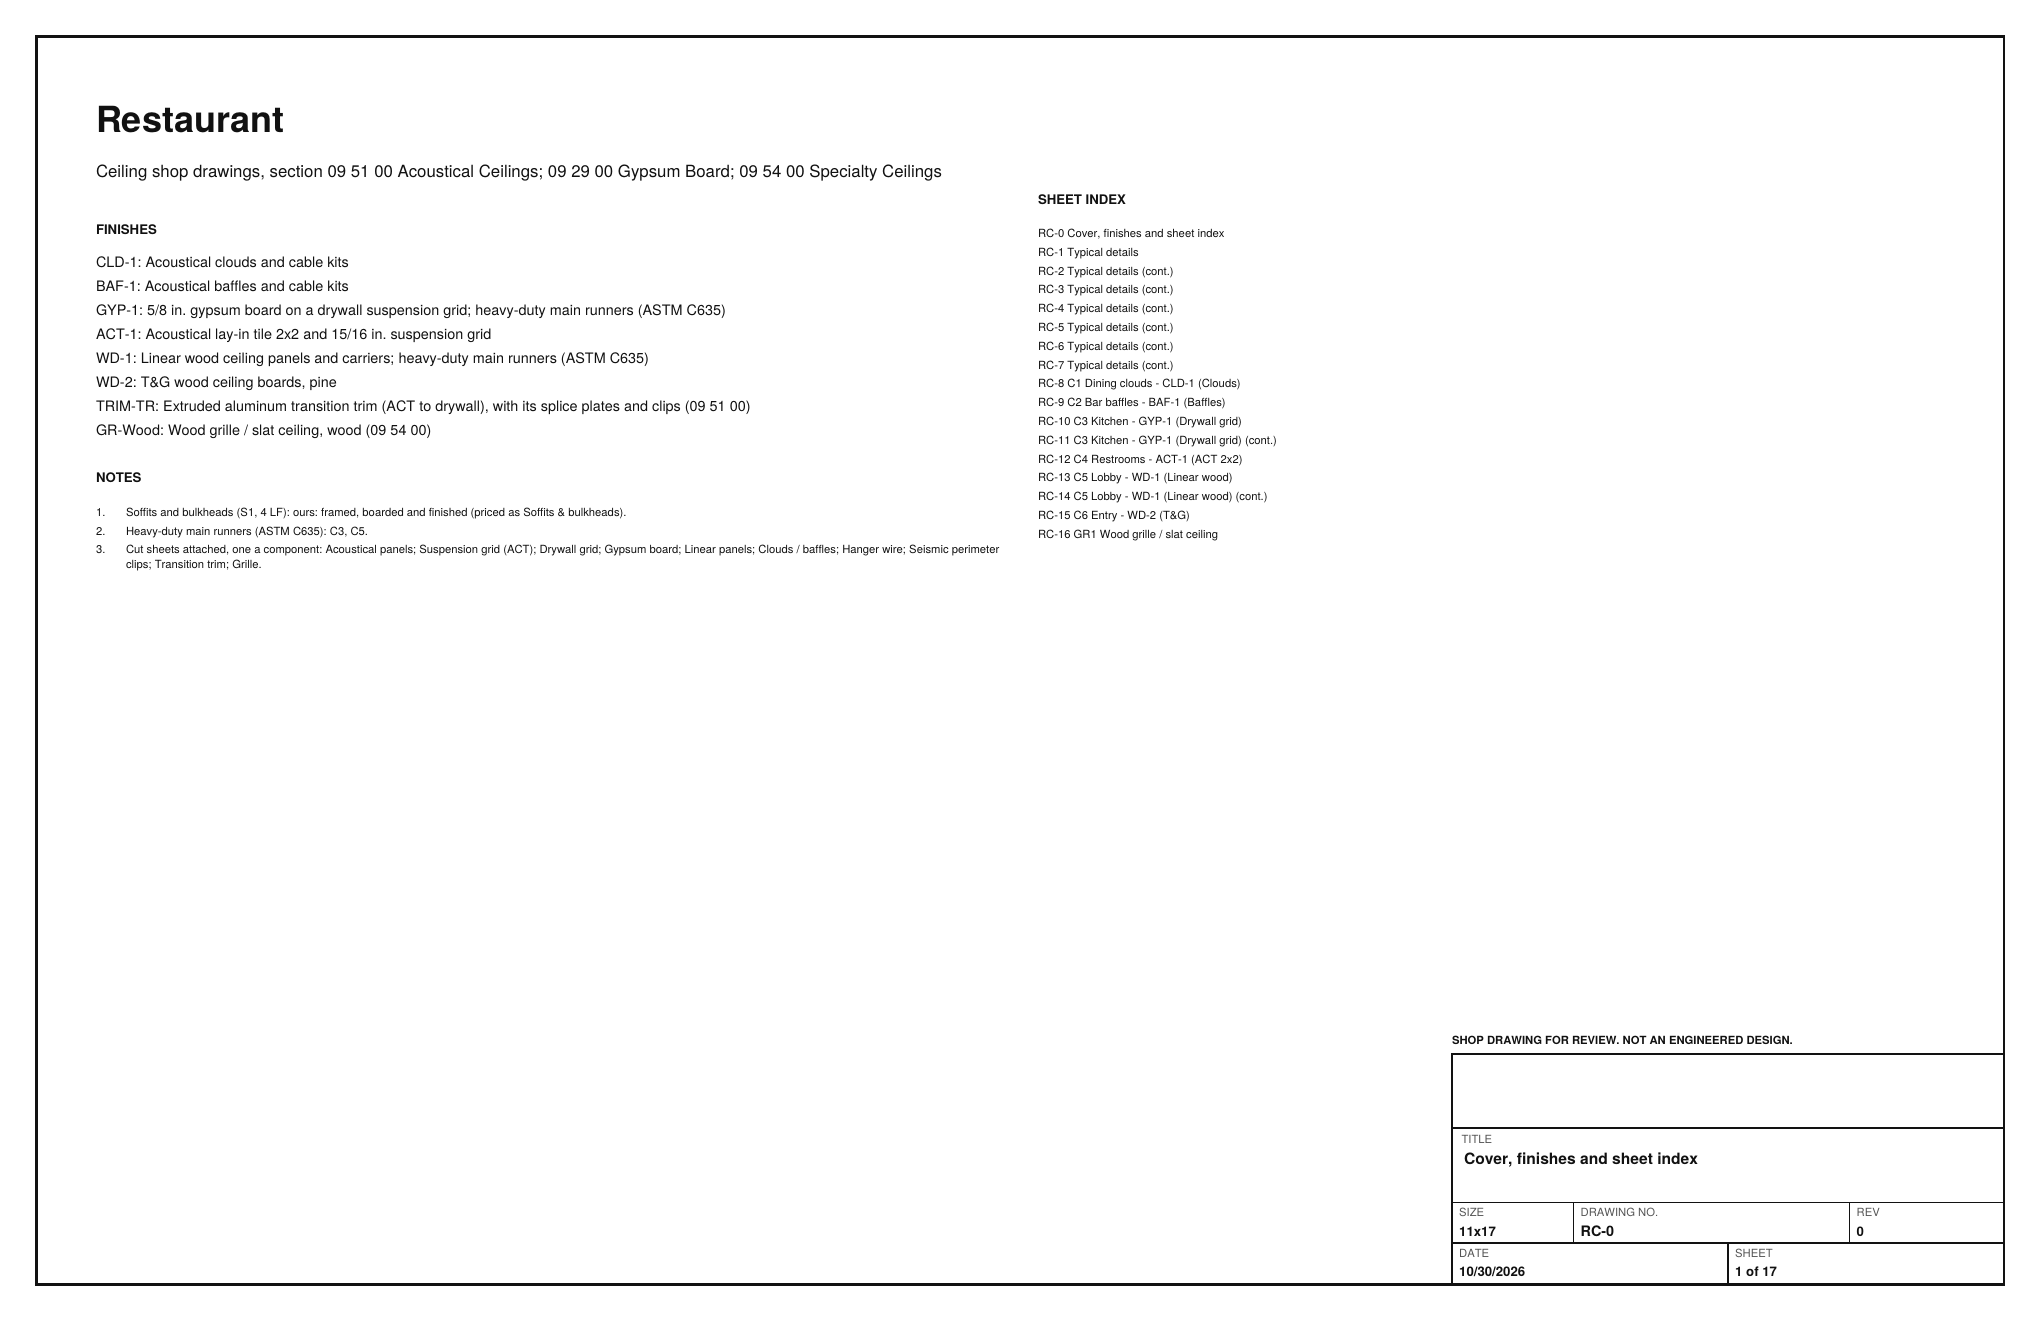
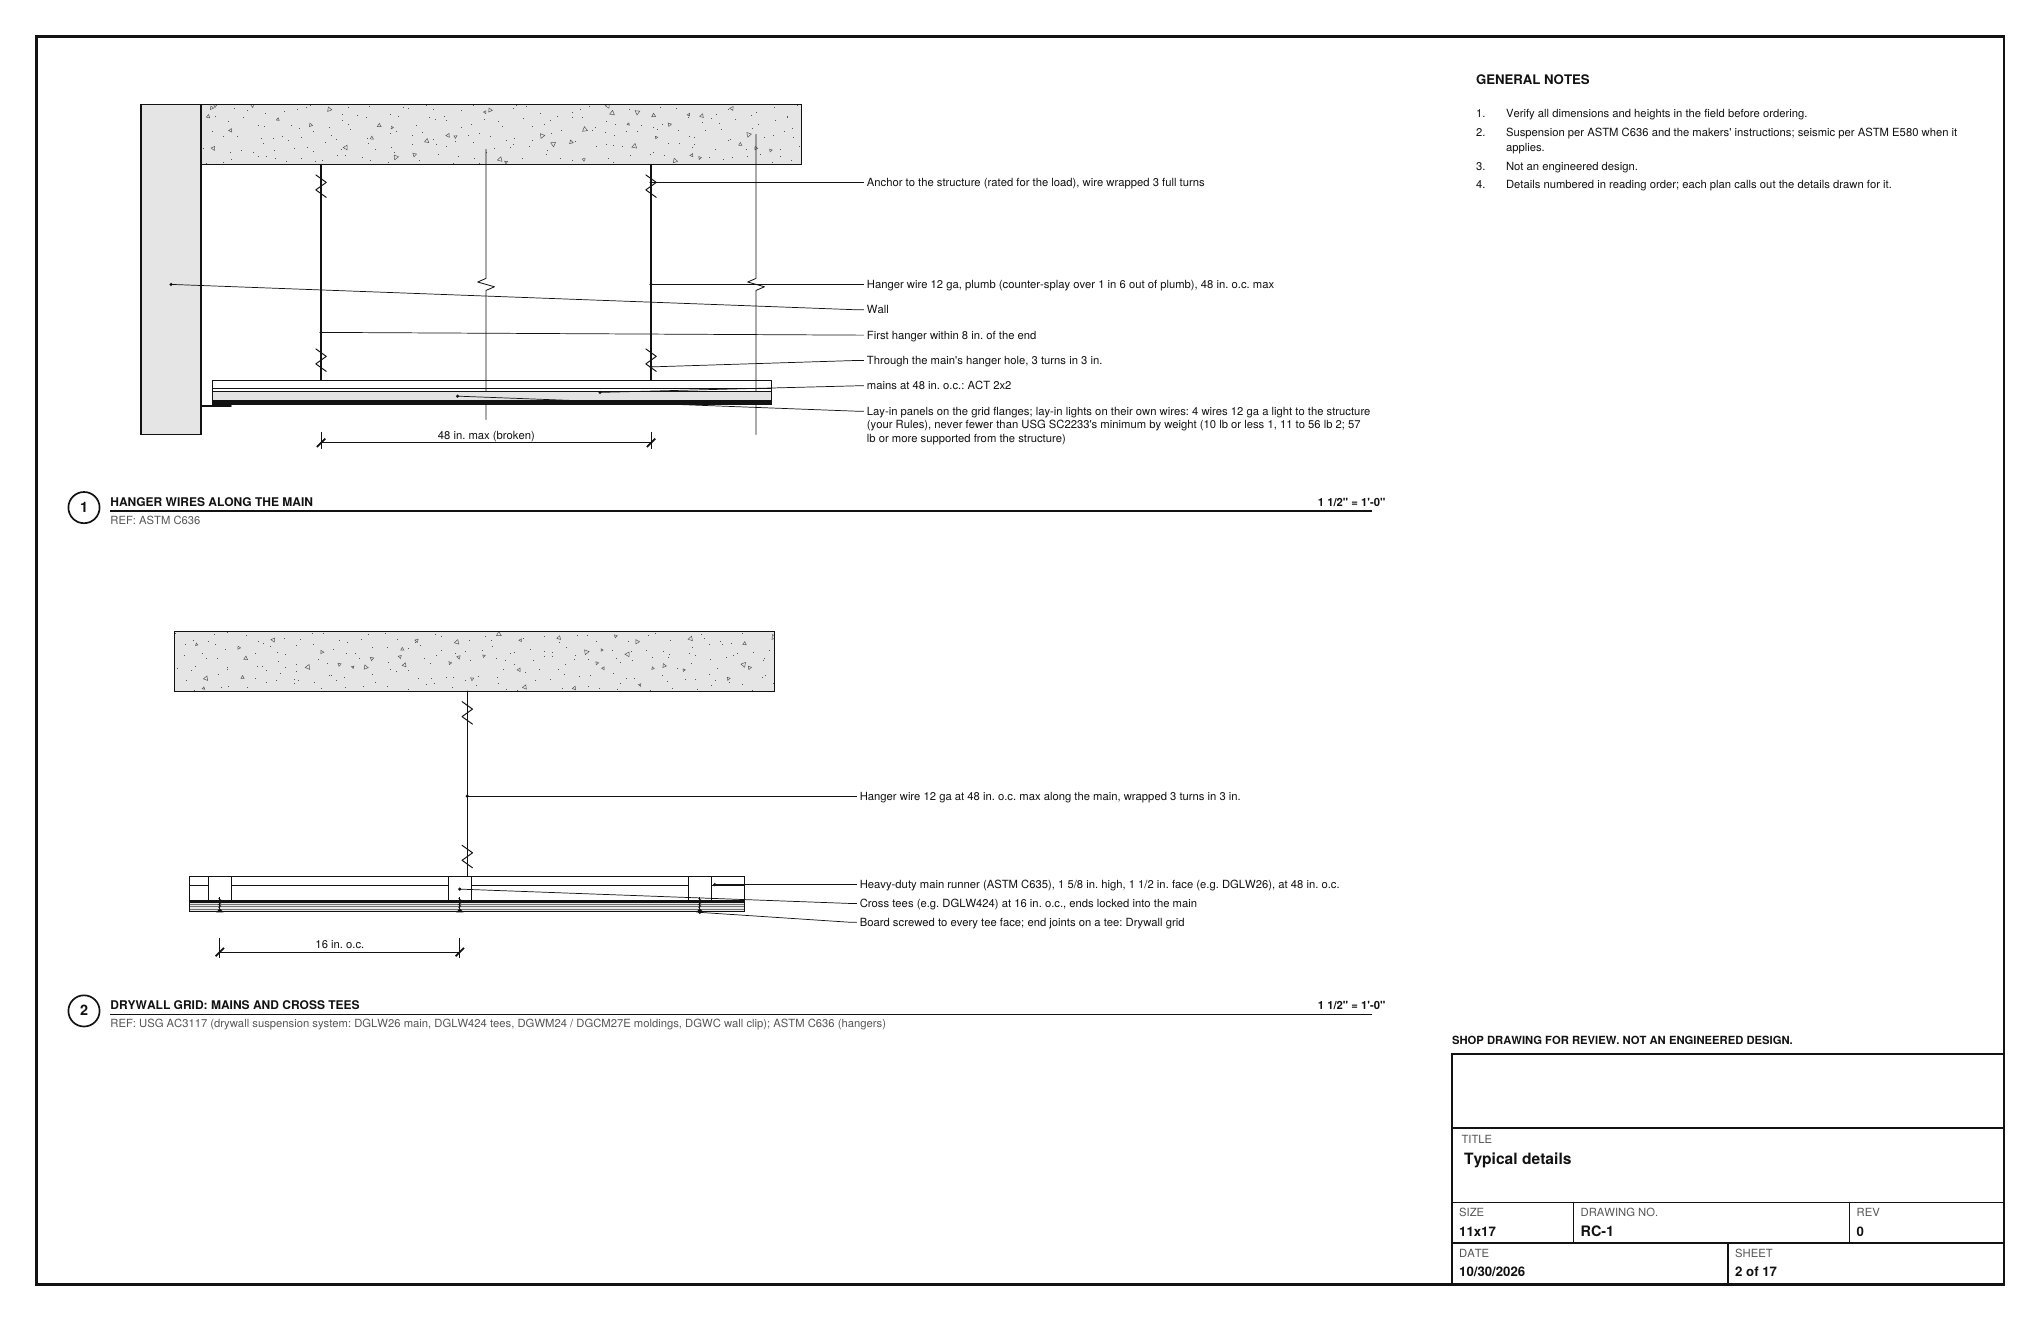
You get the cover with the finishes, the typical details, a sheet for each ceiling area with its plan and section (two where its plans need the room), and a sheet for the wood grille. The sample is set to Seismic Design Category D, with the clouds, baffles and grille on splay wires, so the set prints with no fails. Save PDF, and send it for review.
Field tip: The submittal is download only: it isn't added to the BidRidge job.
What you get
Real files from this sample, made by the designer. Tap a page to see it full size. Yours carry your company, the client and the address.
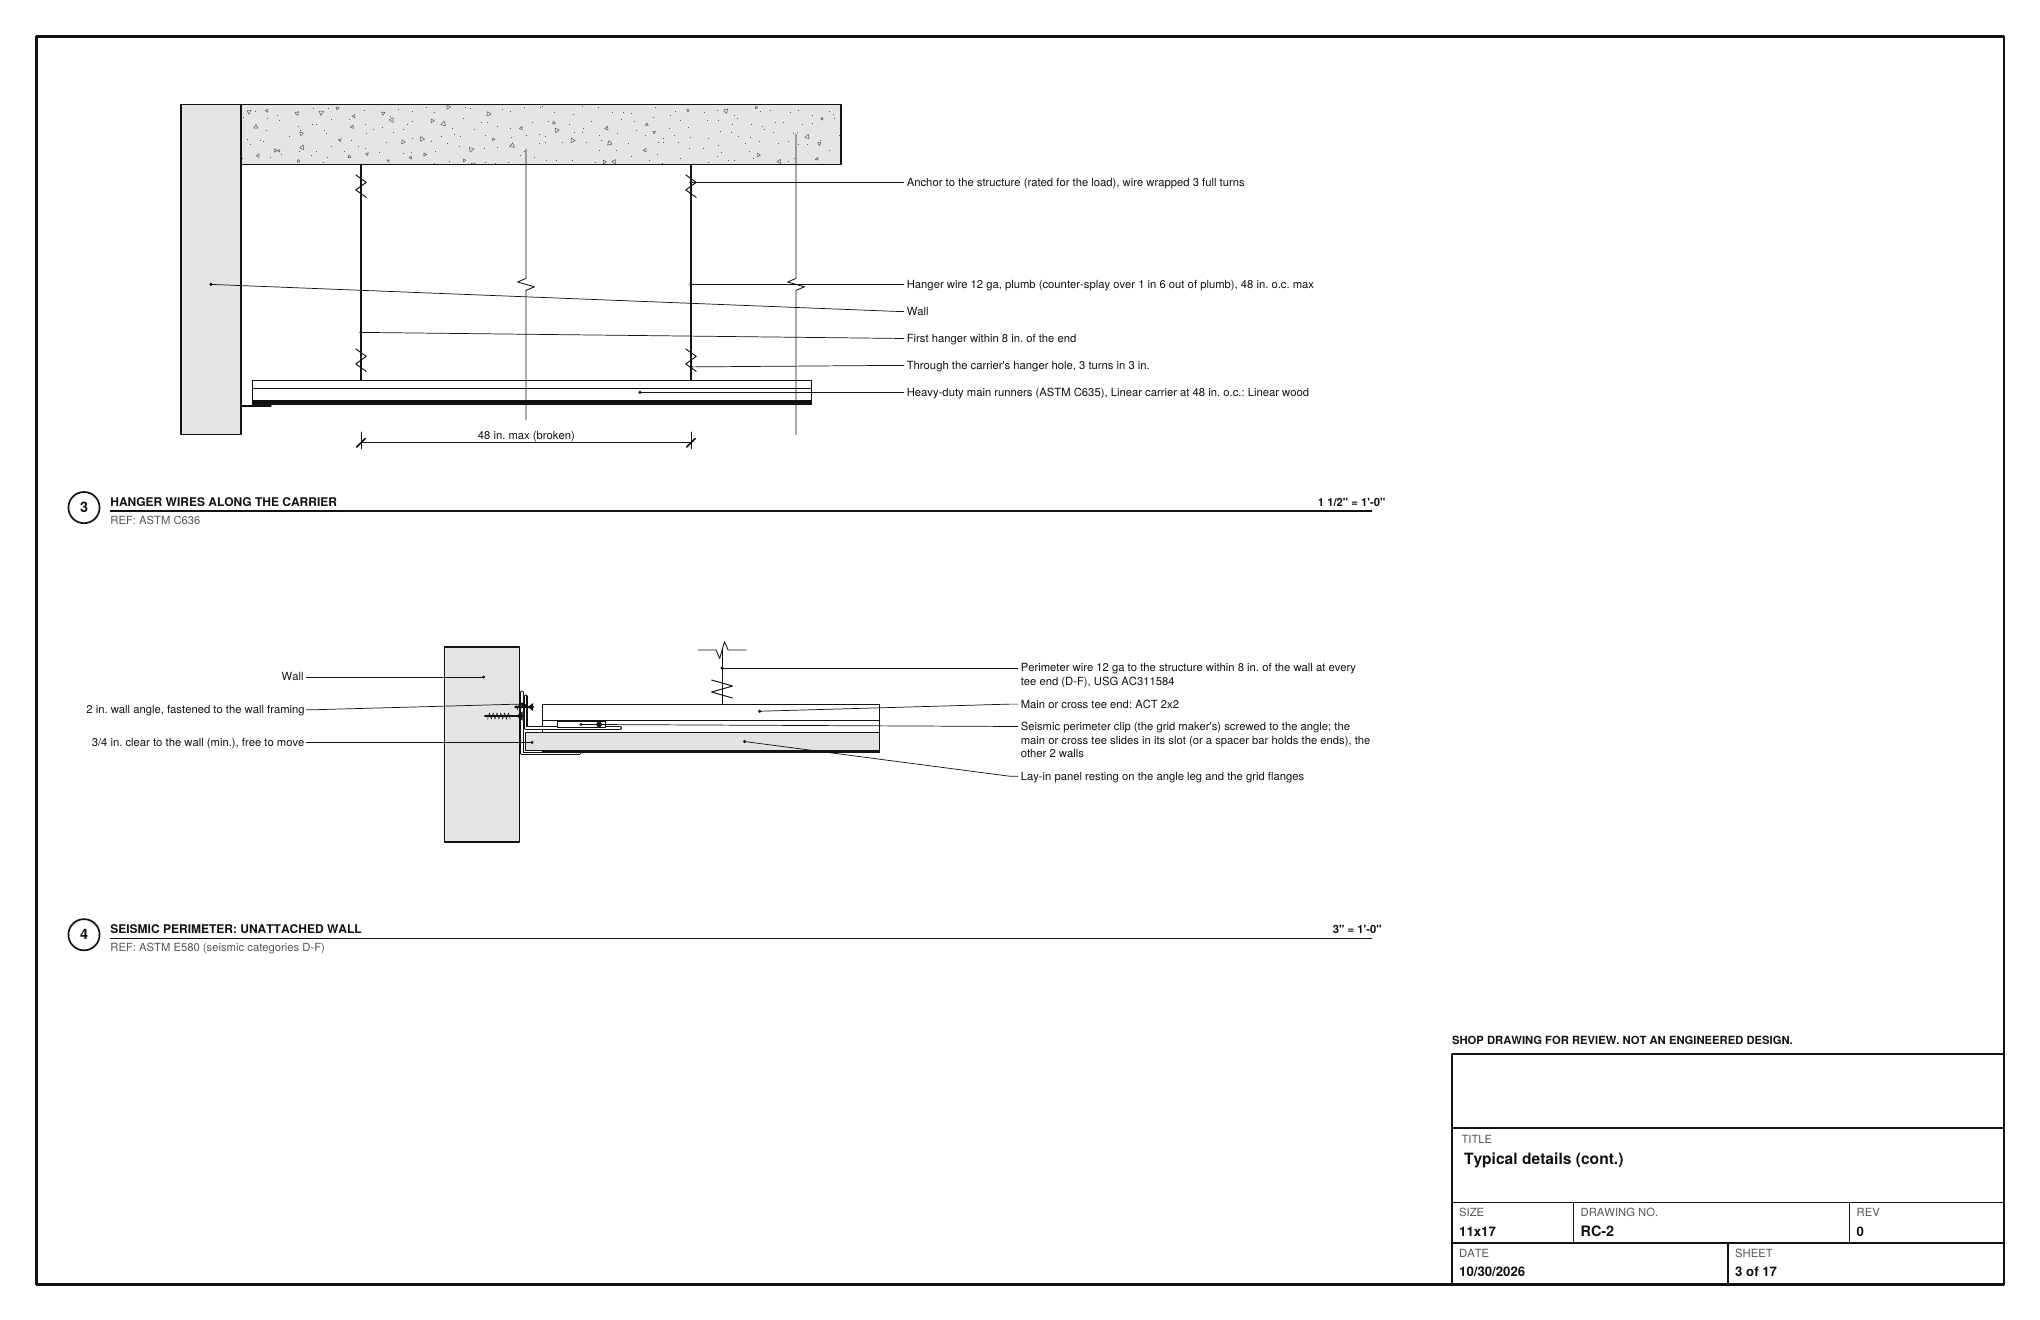
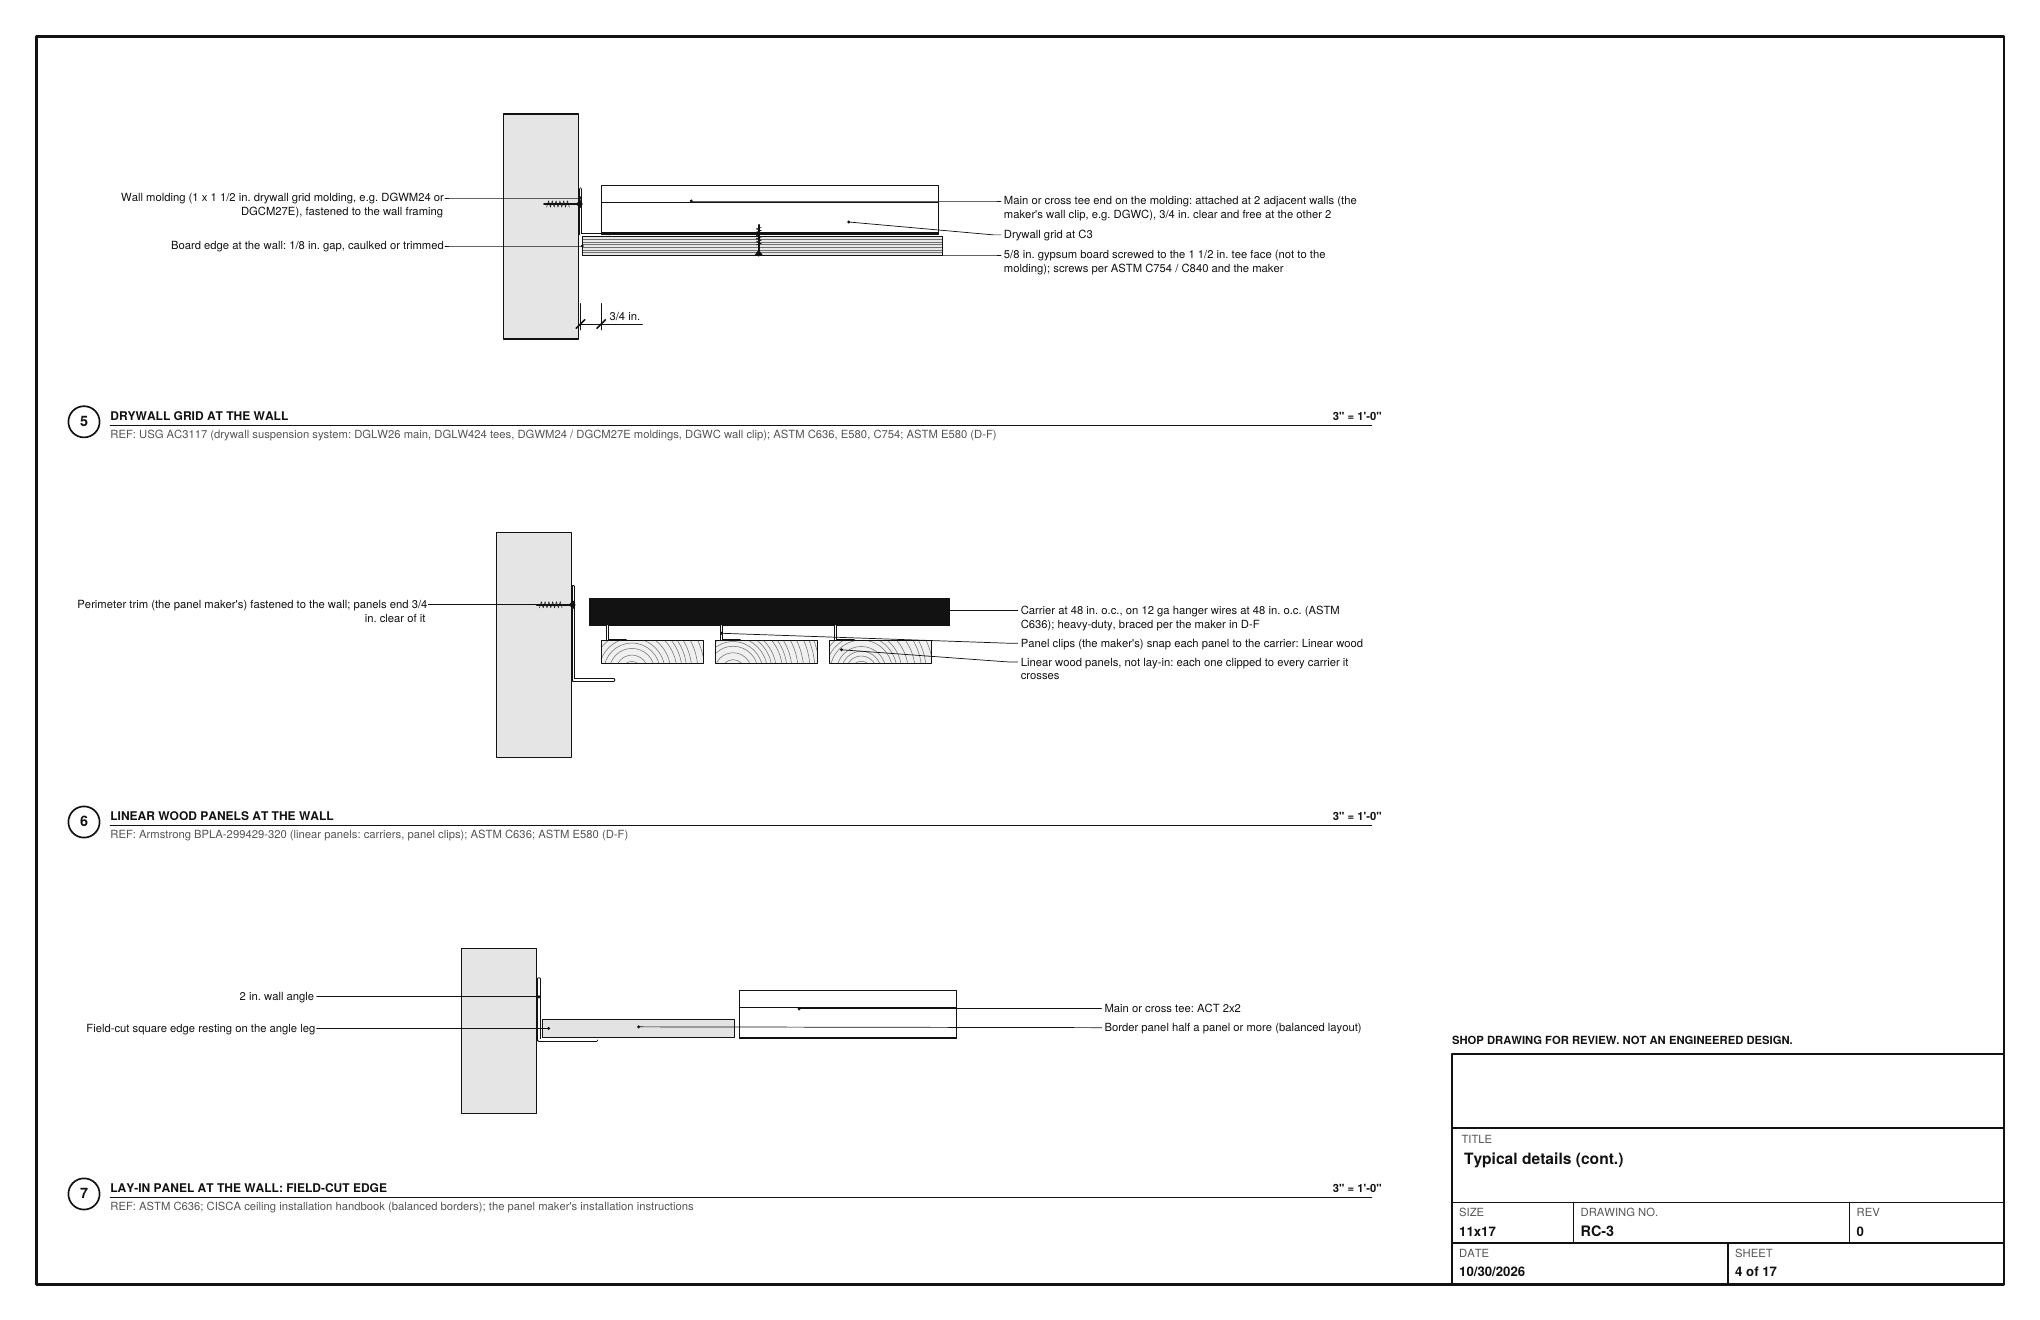
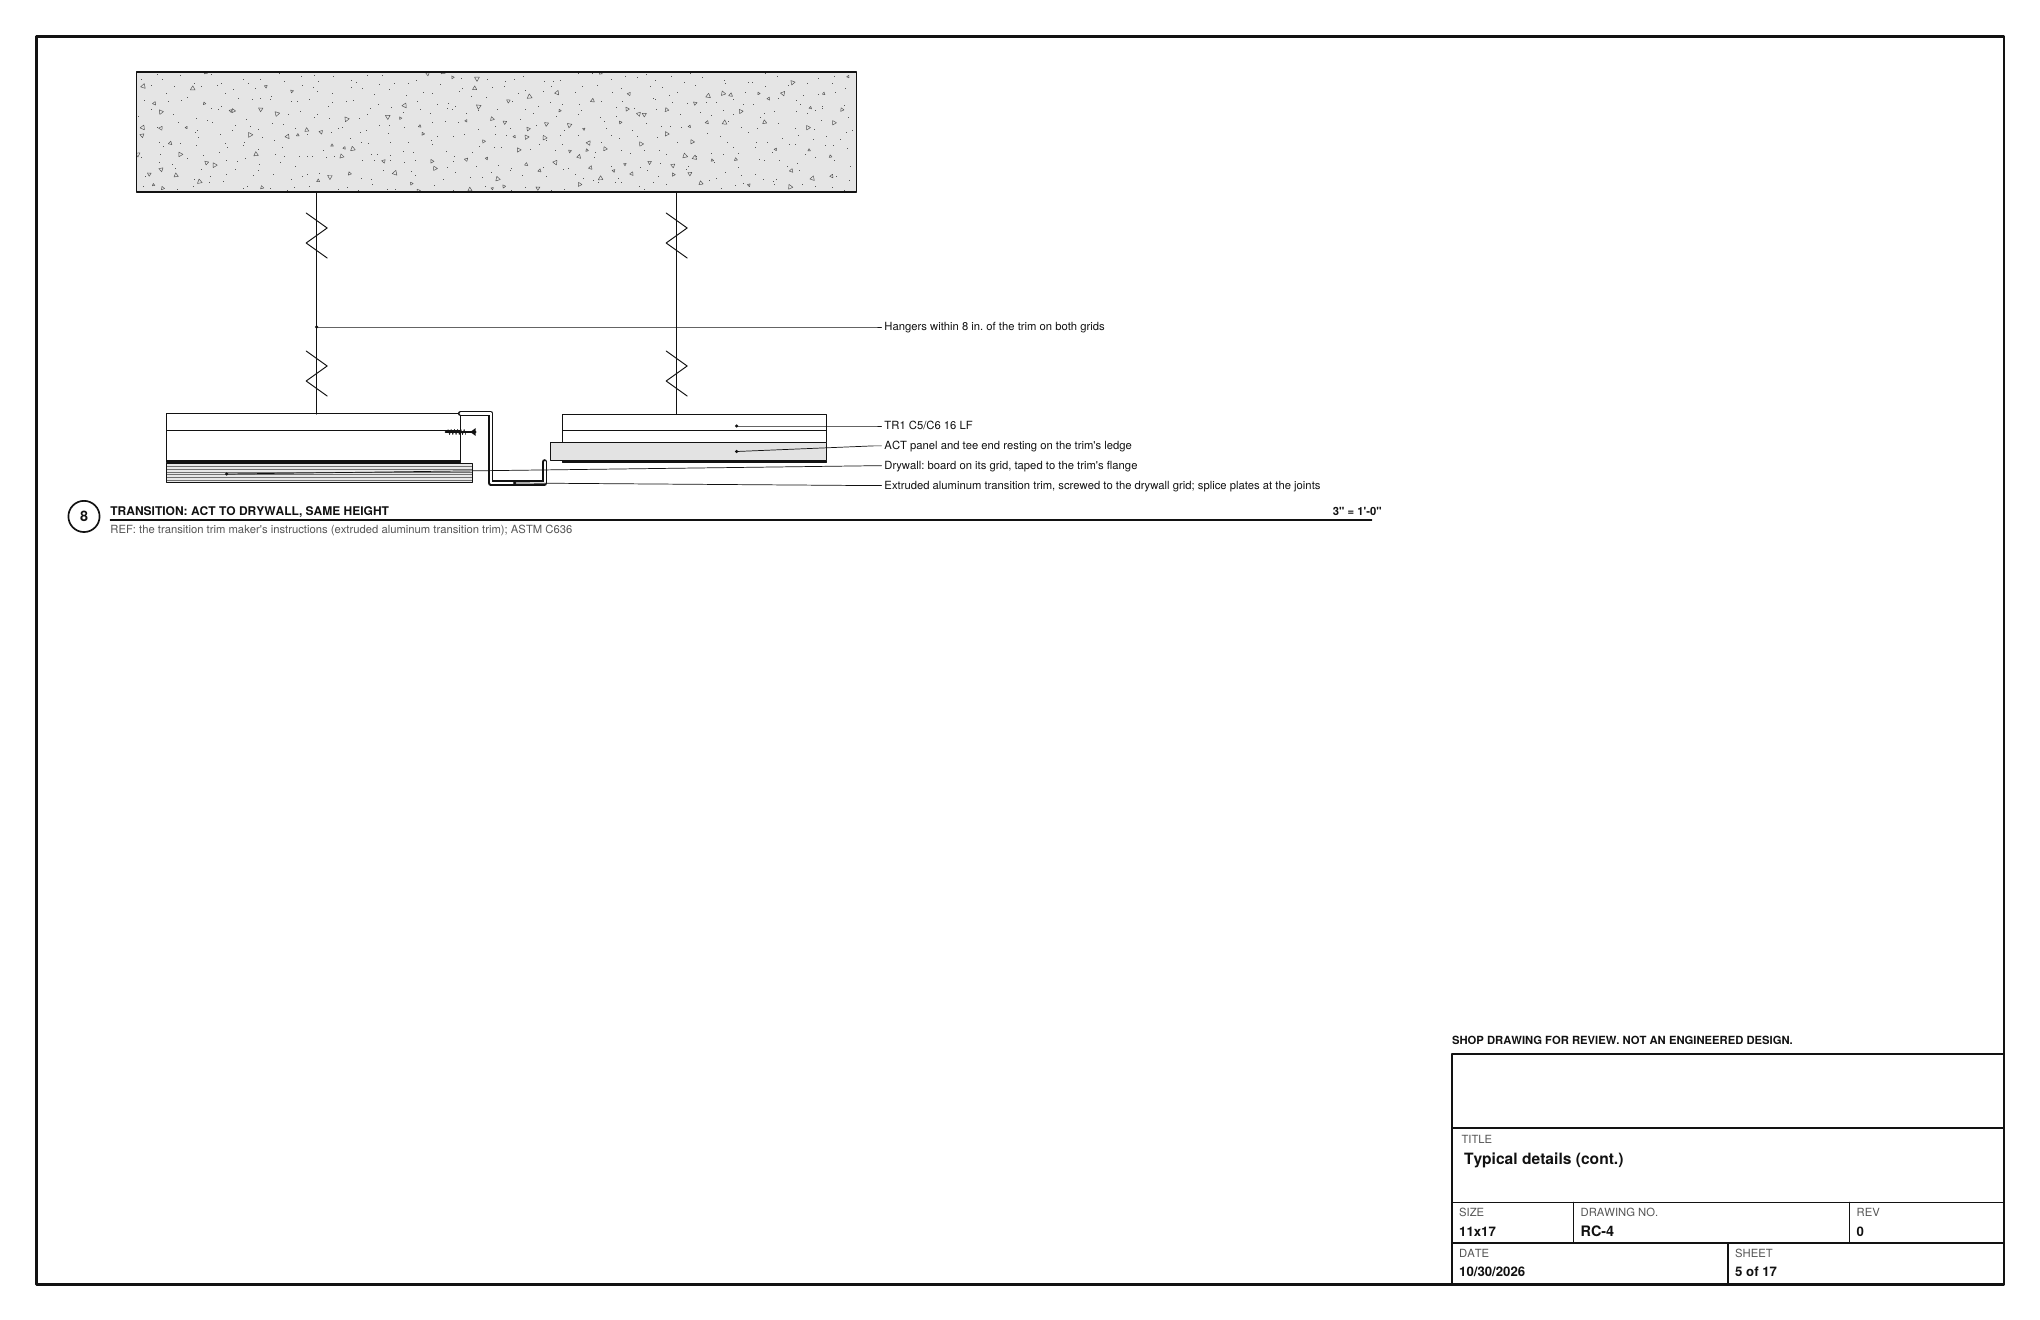
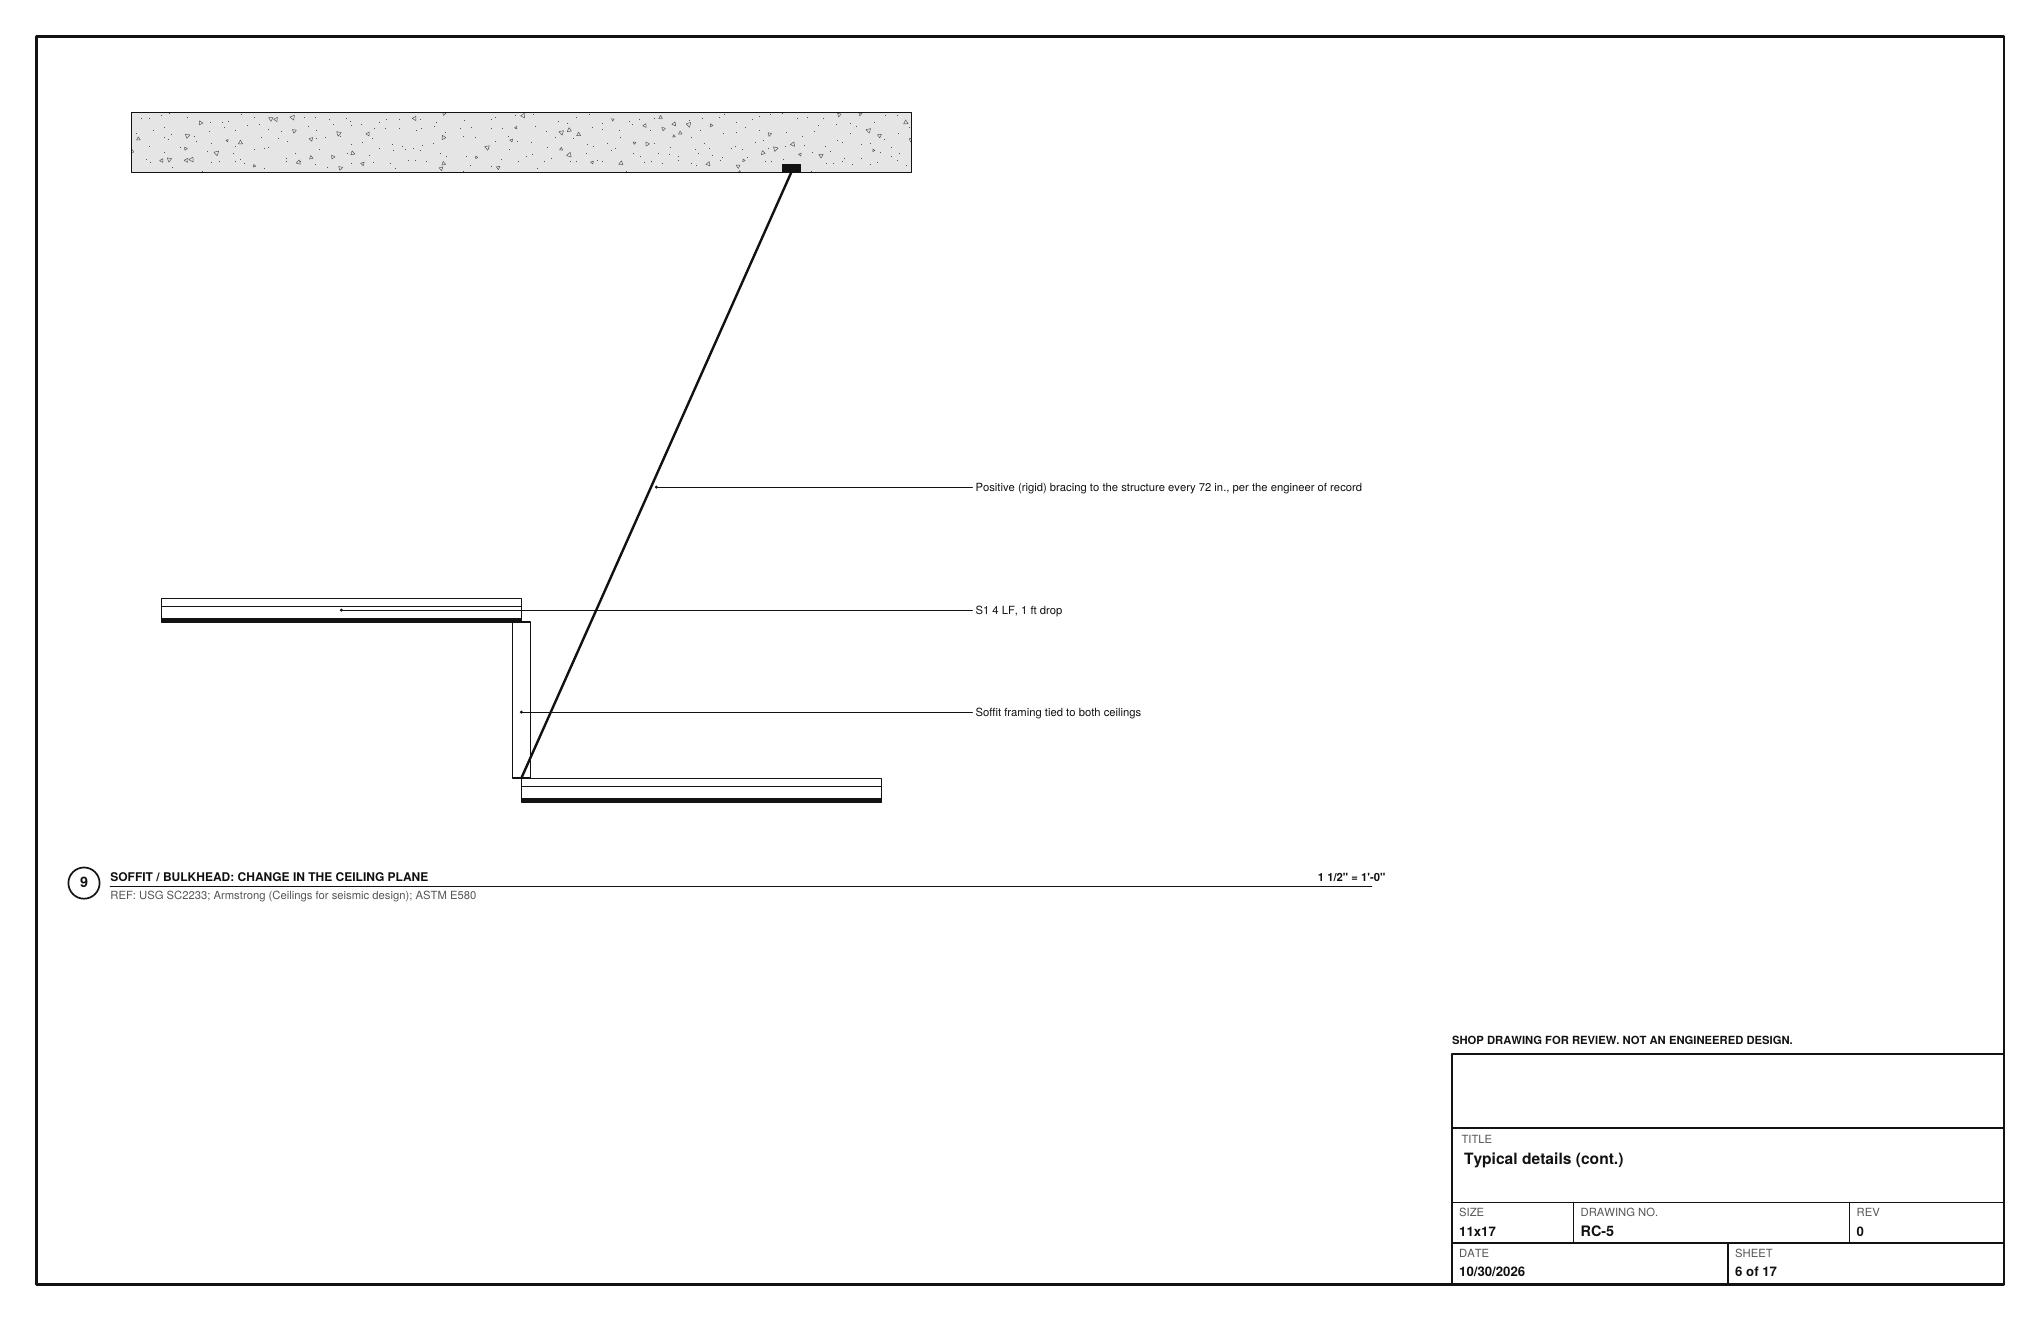
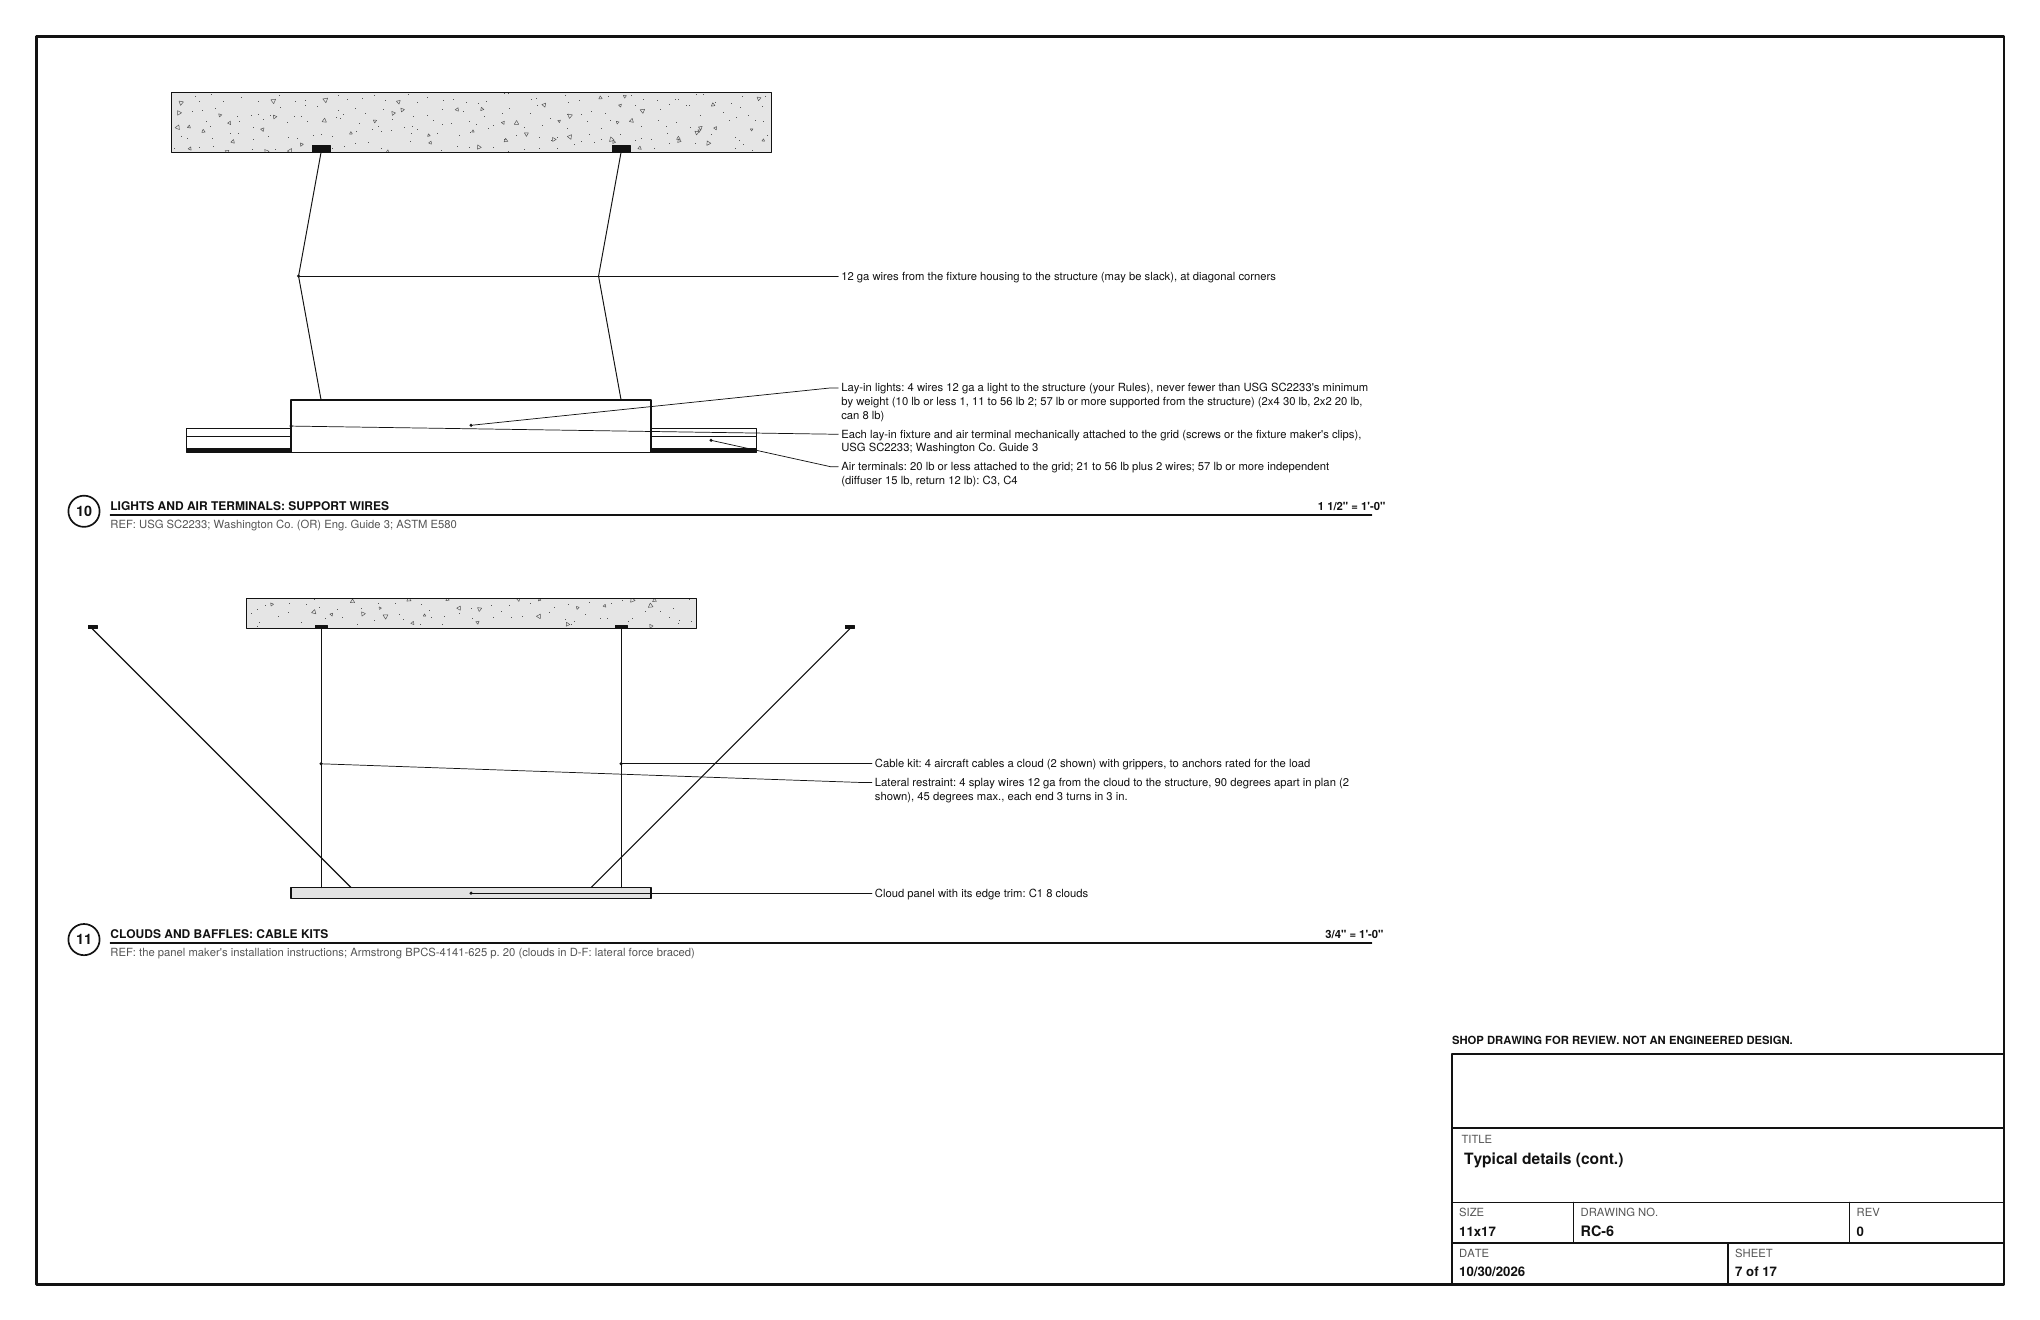
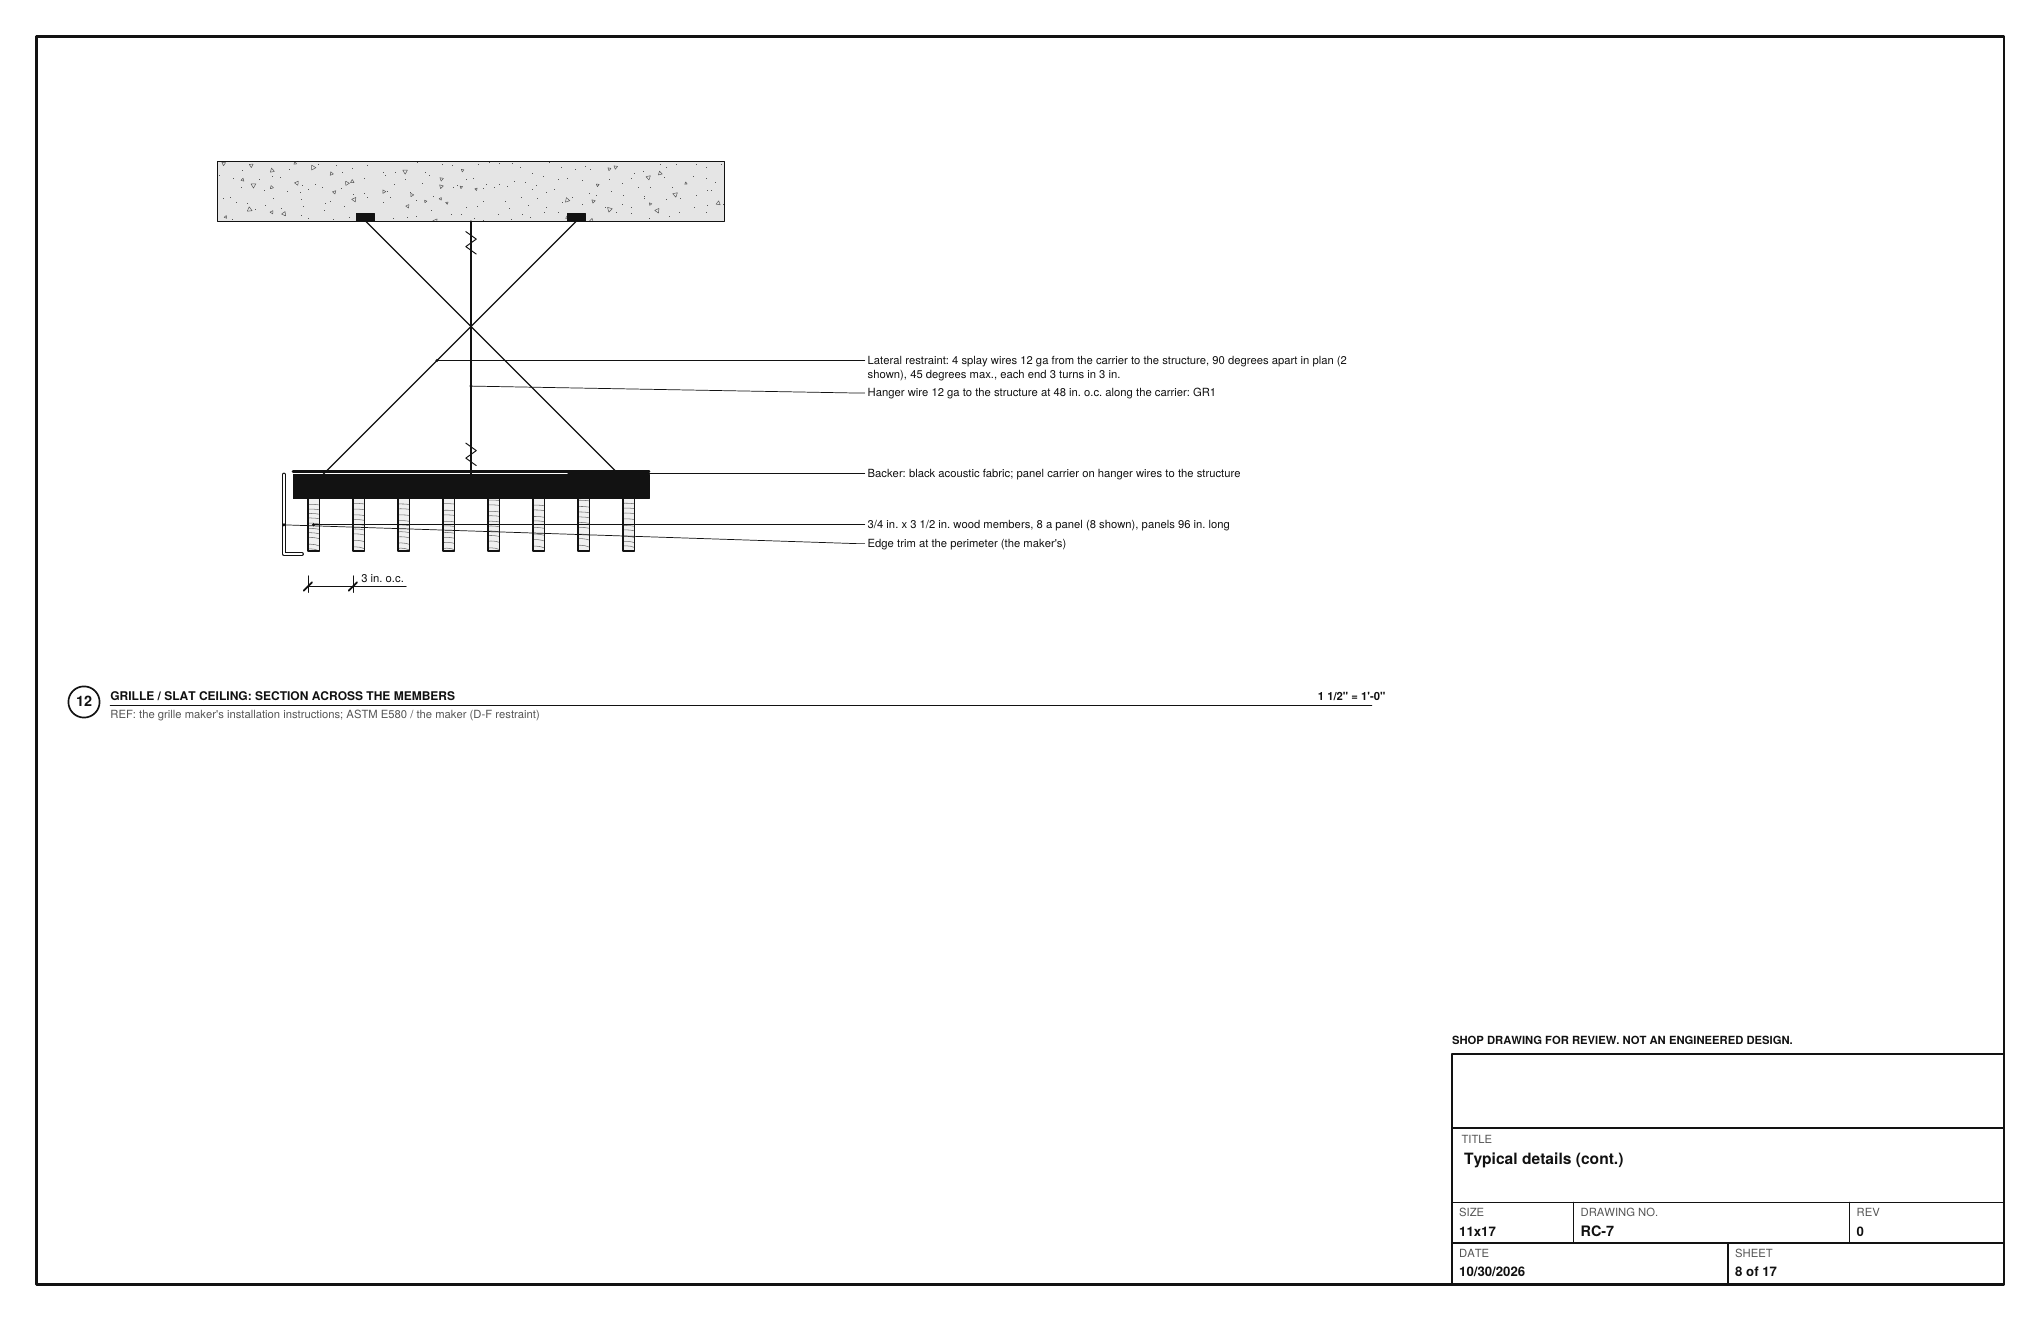
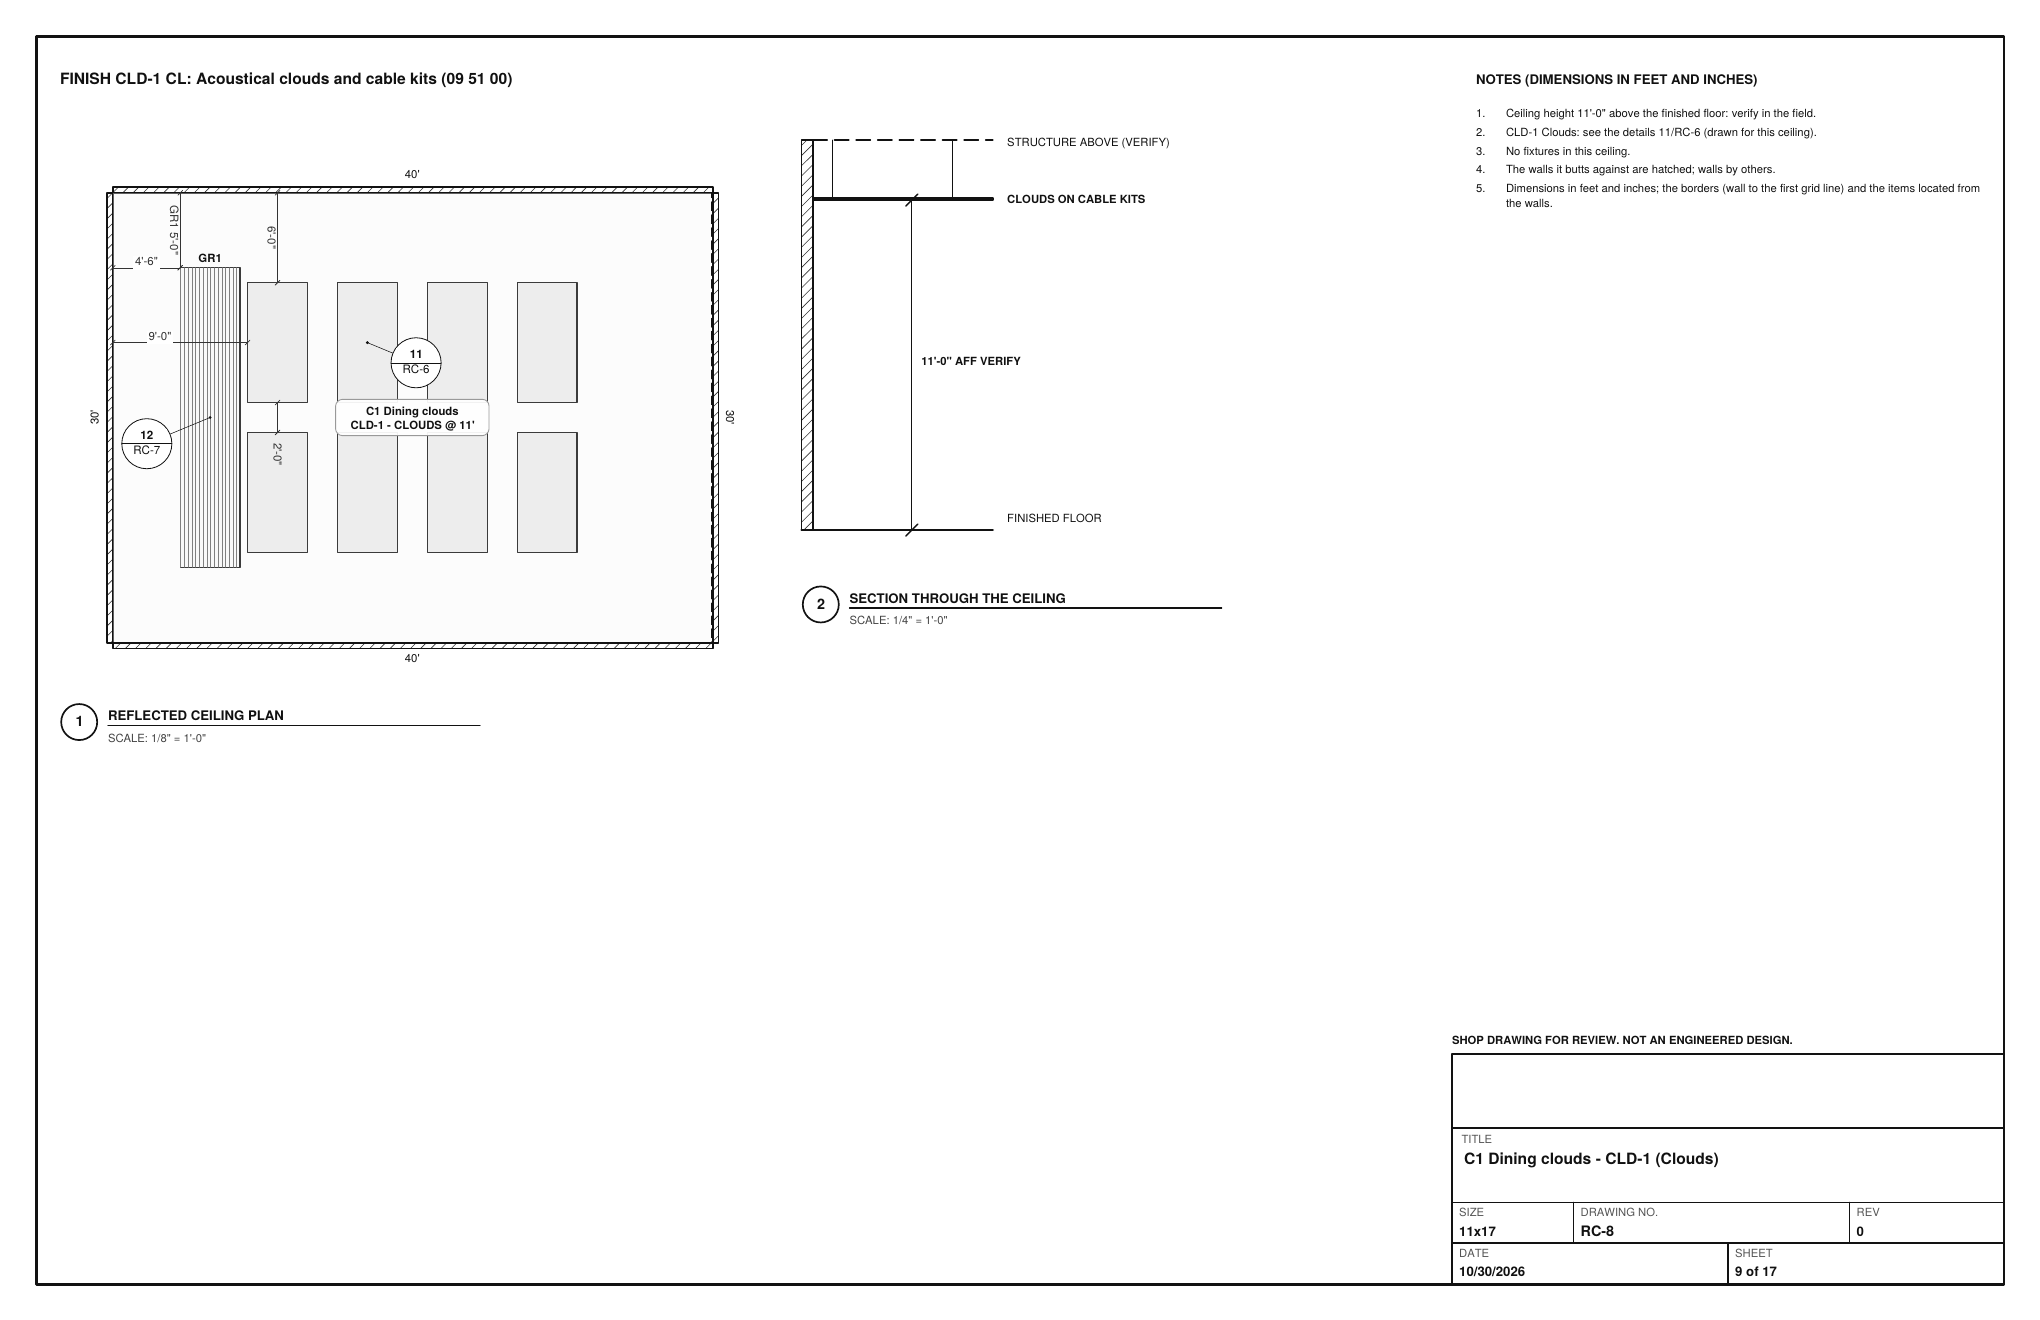
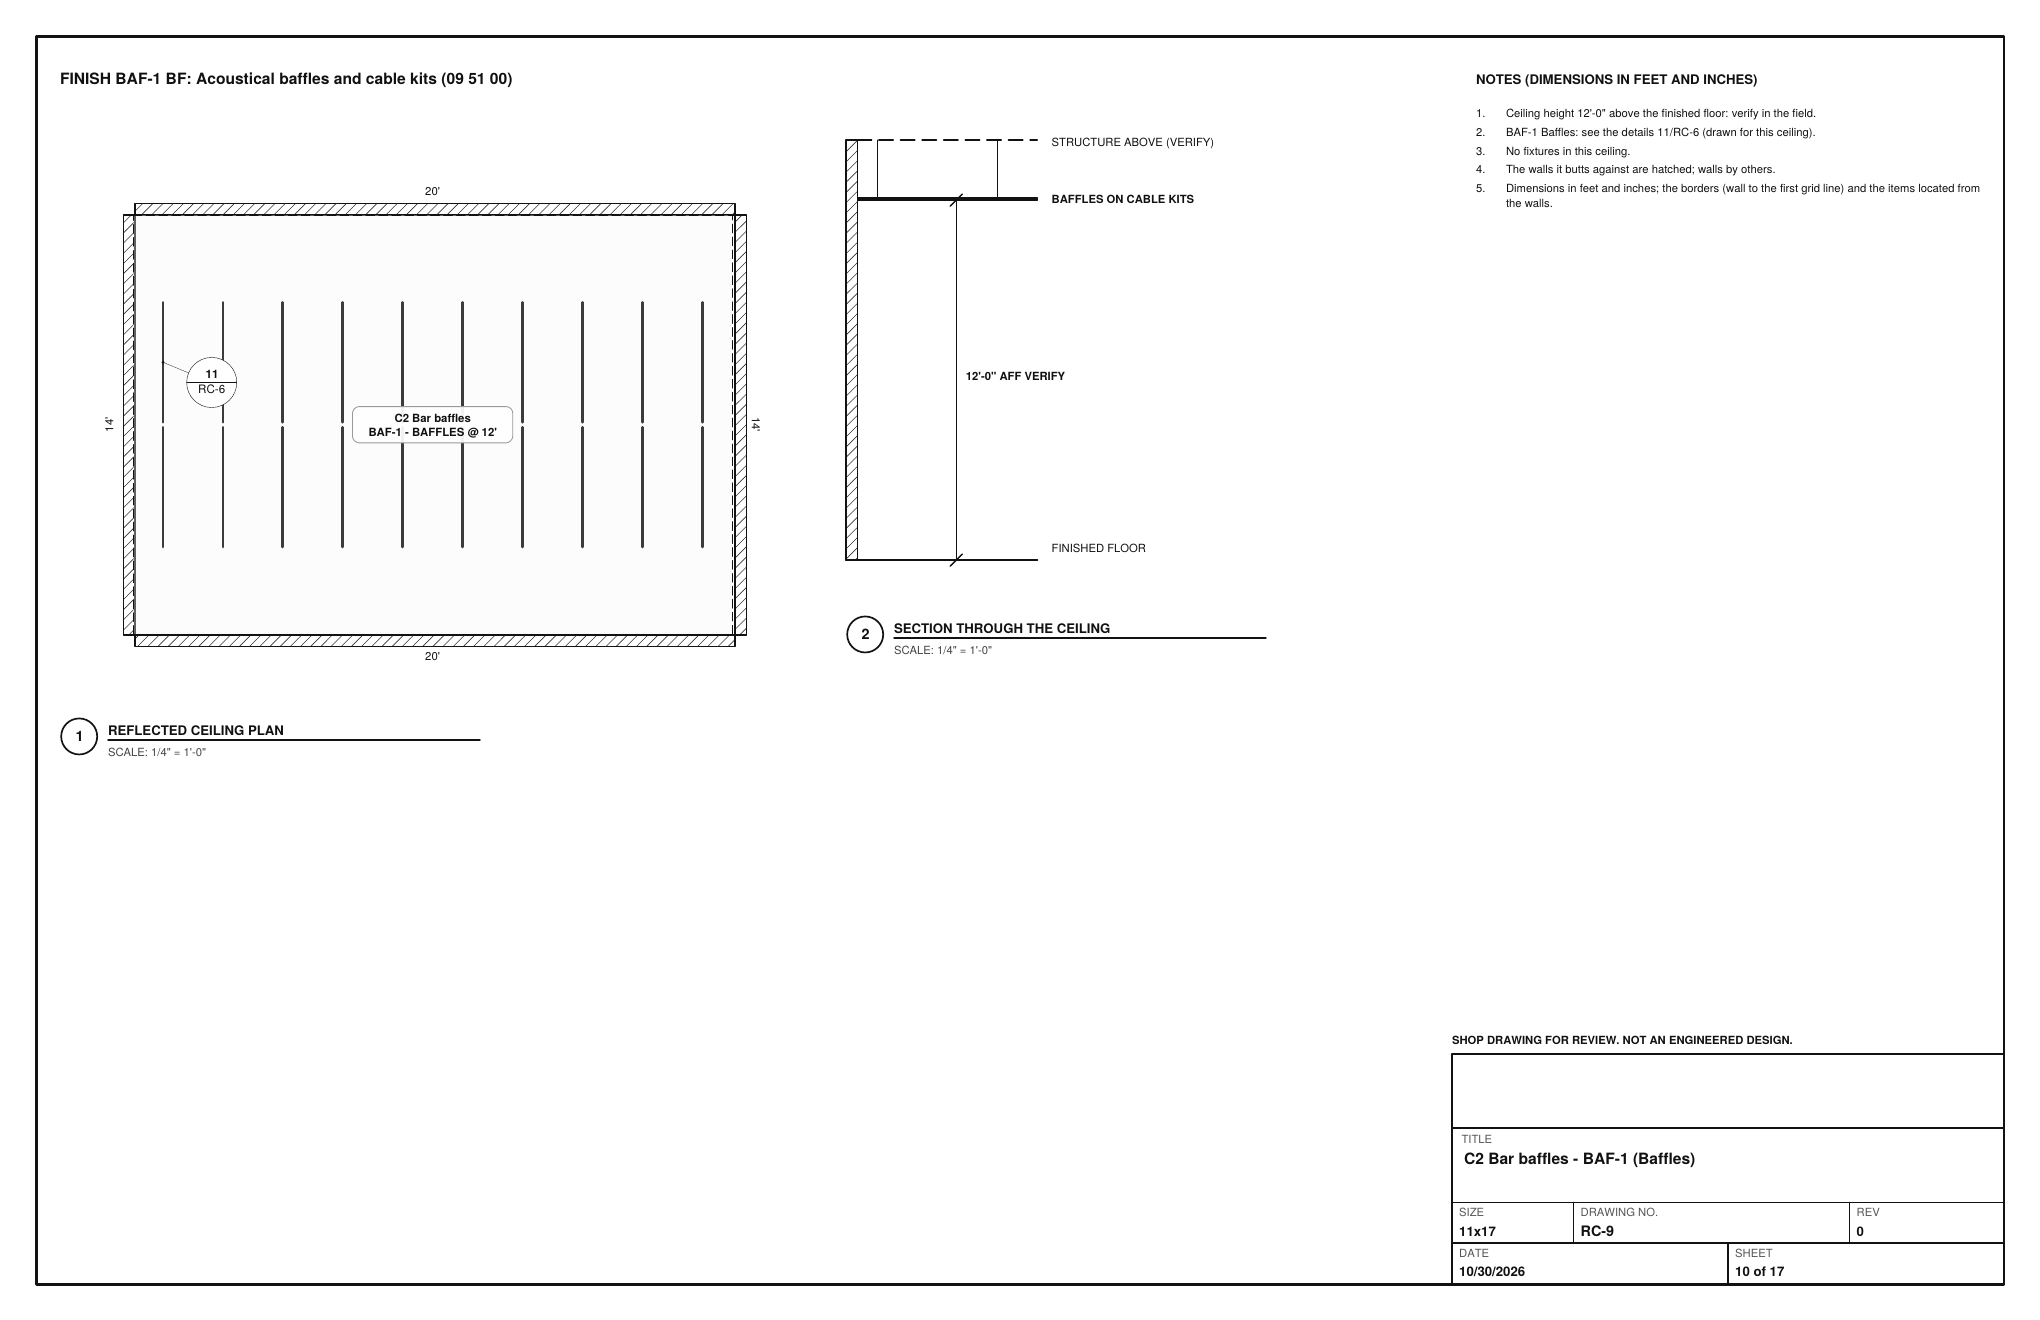
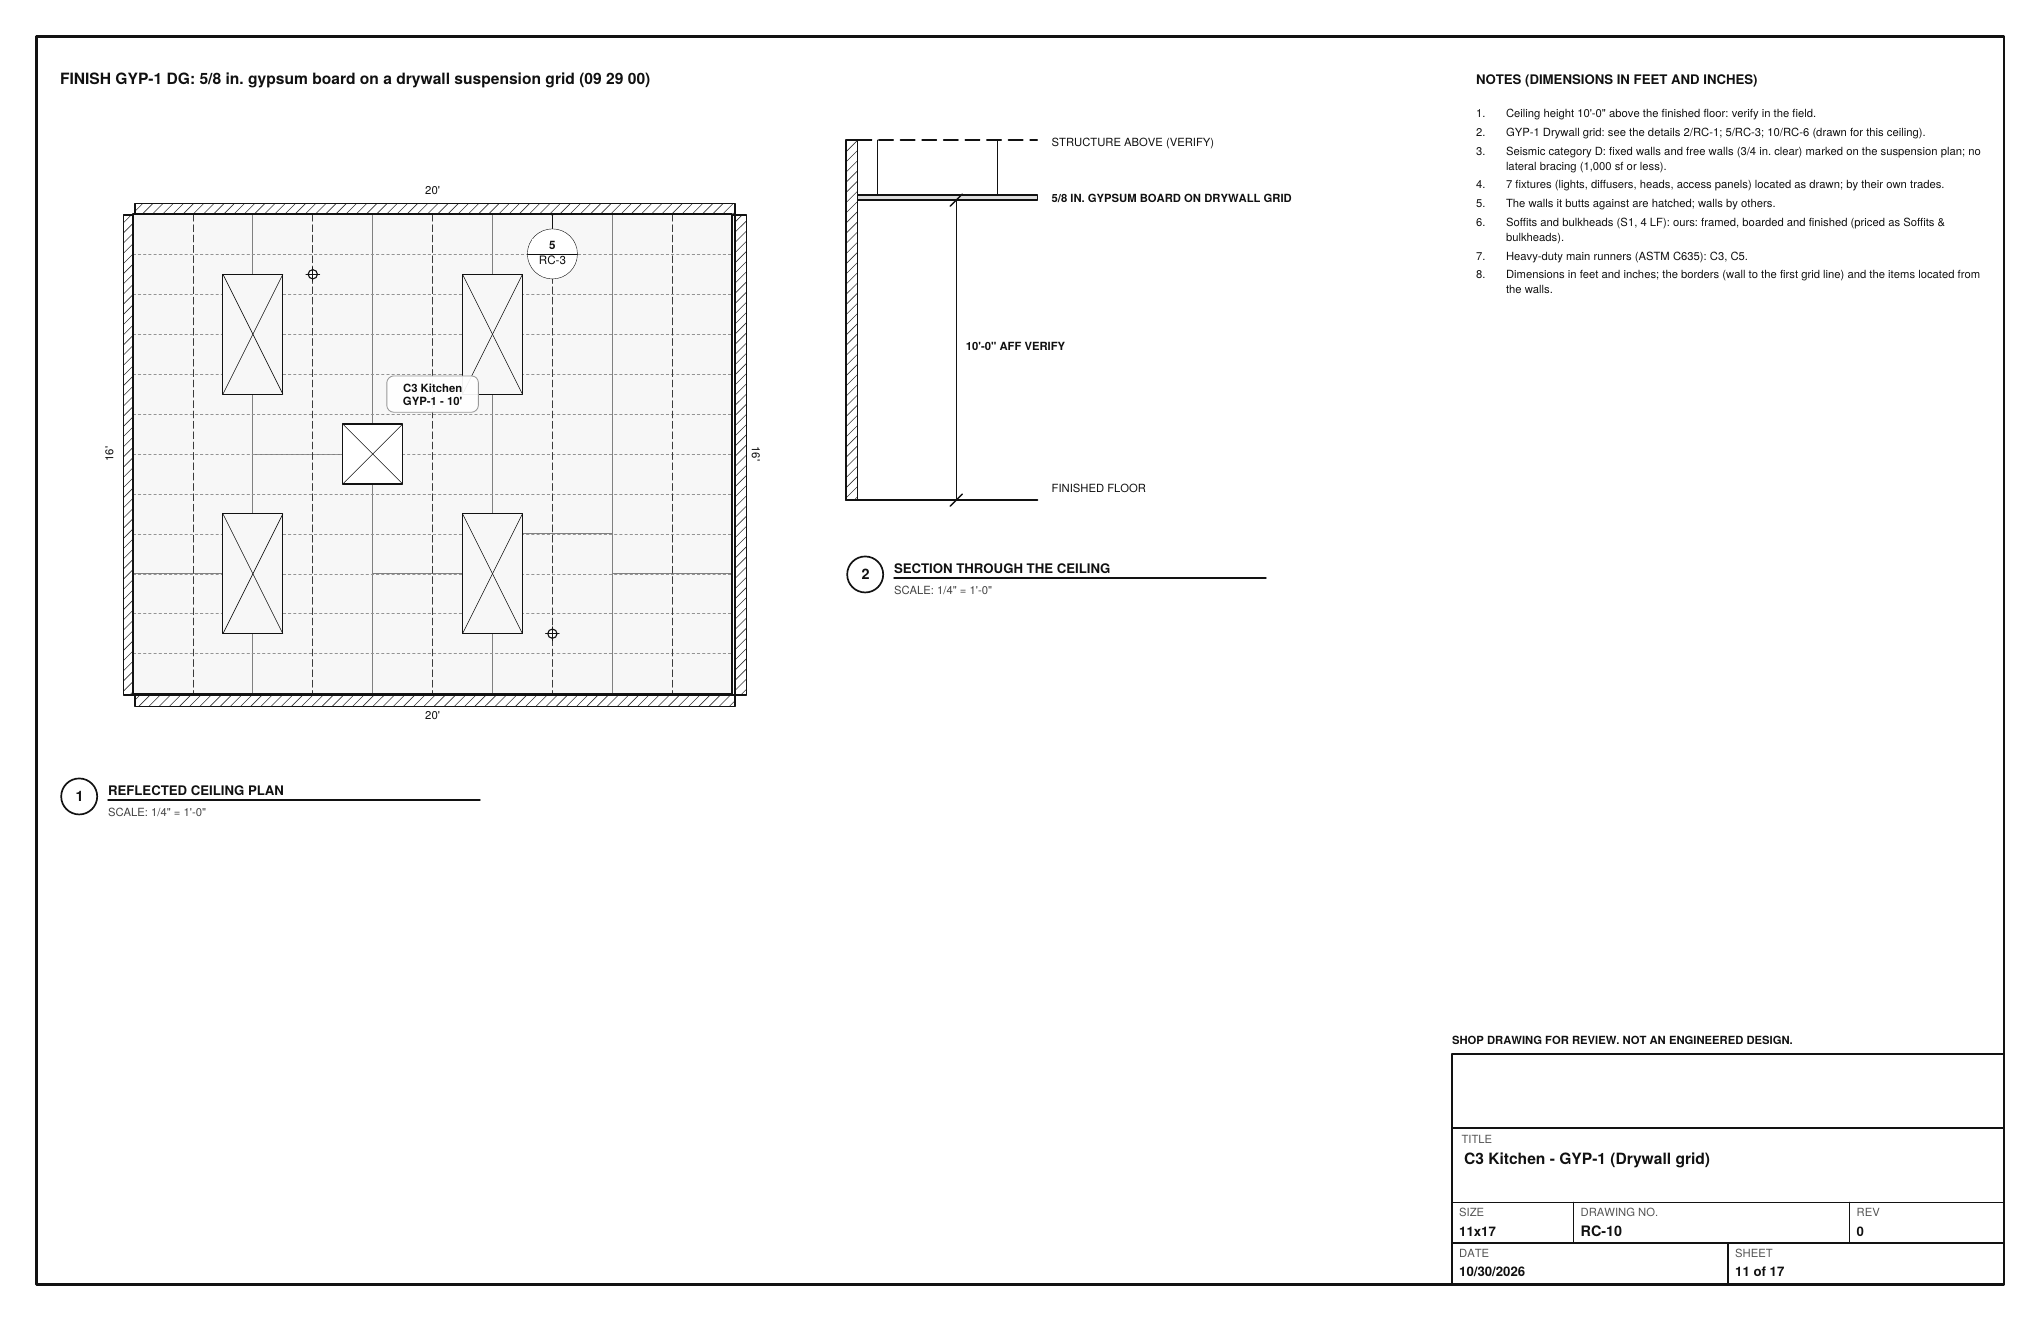
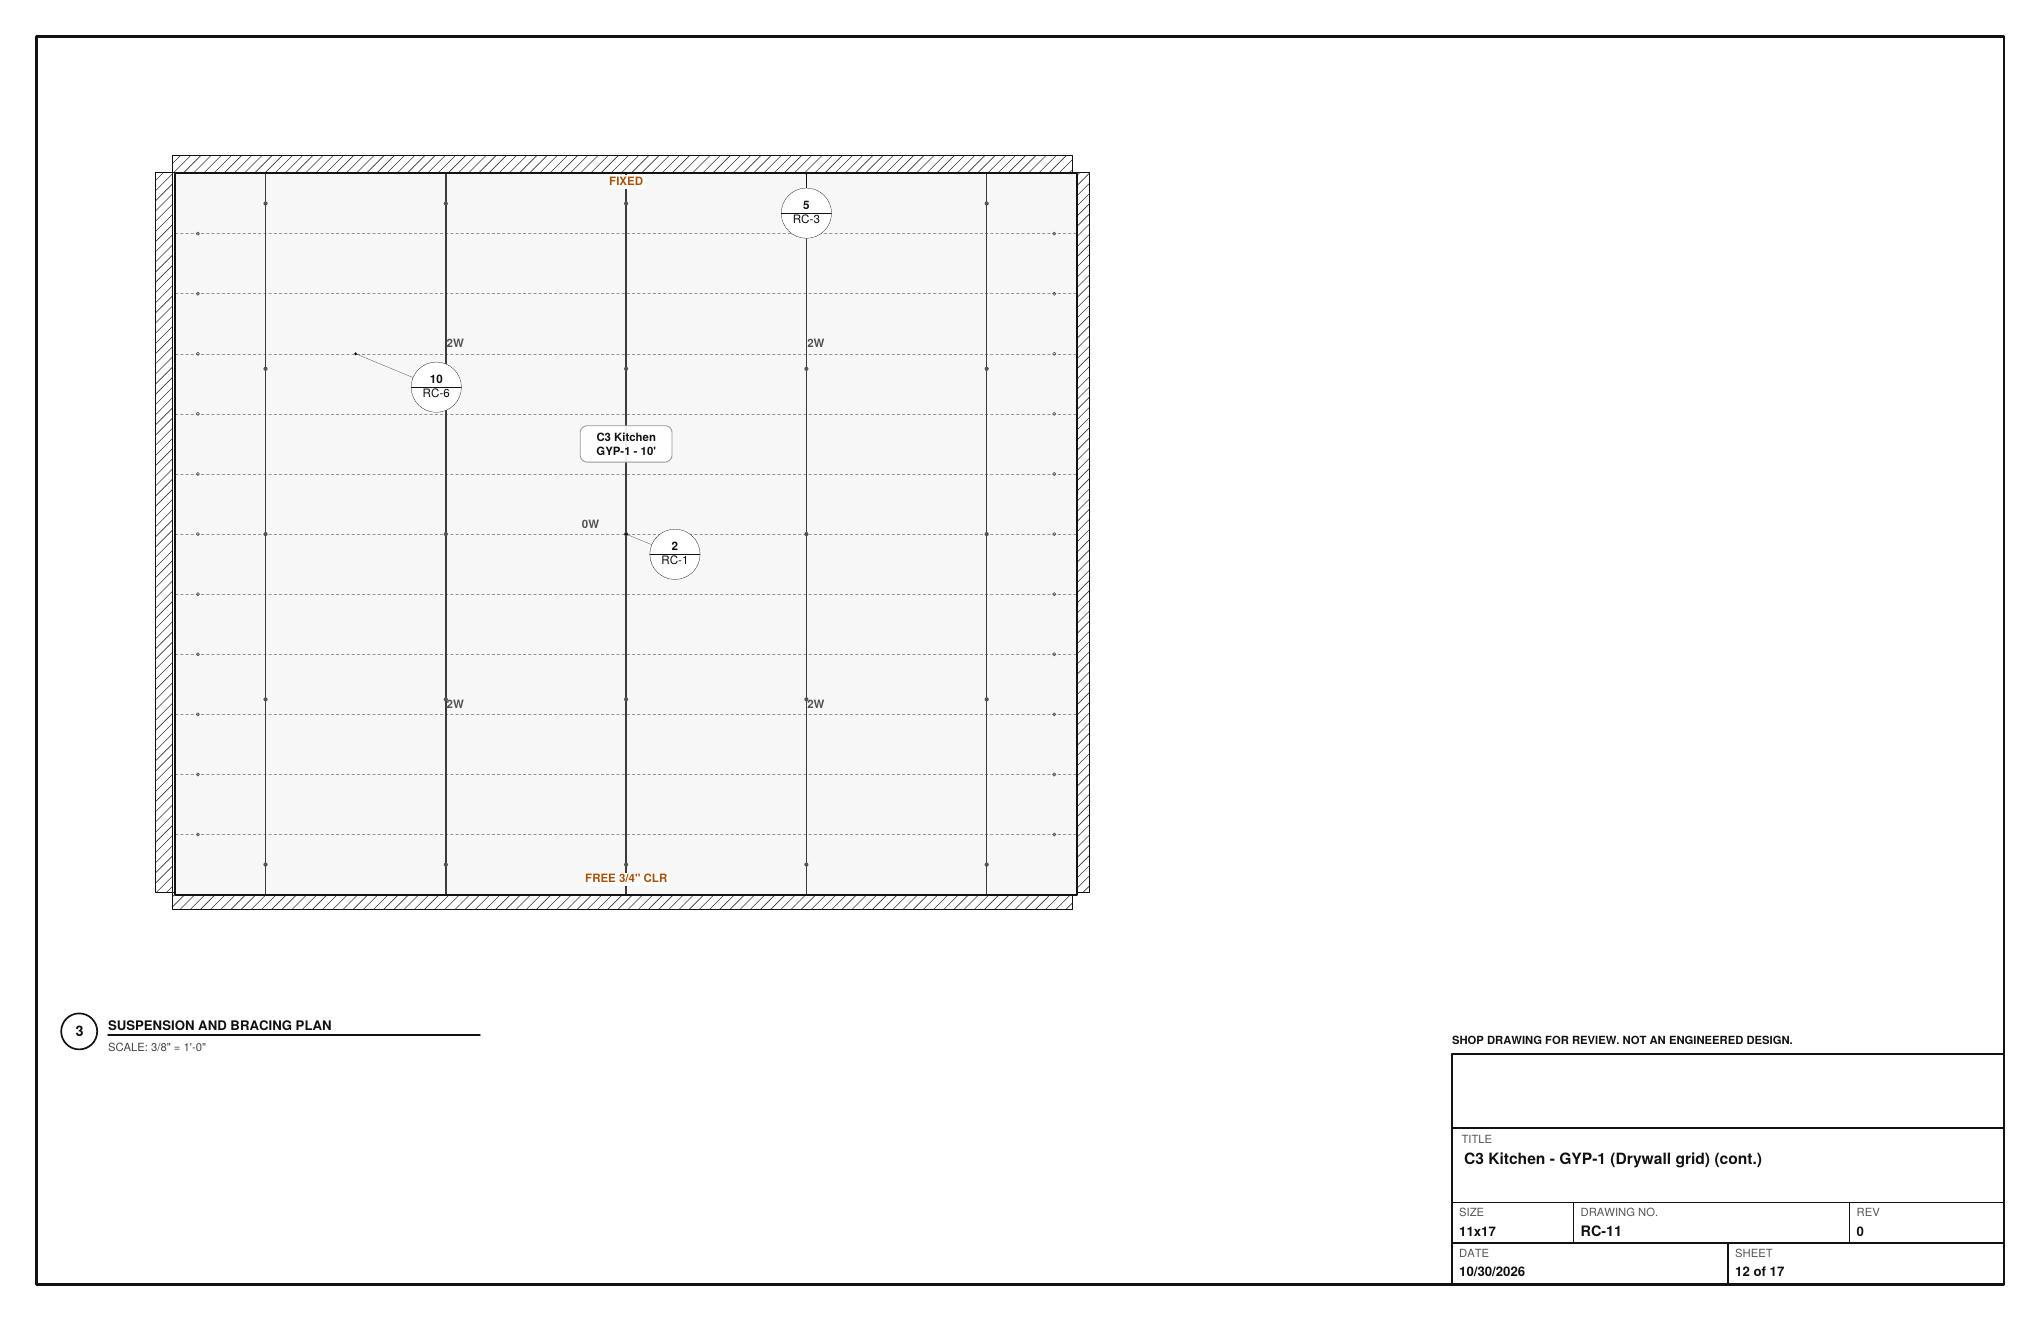
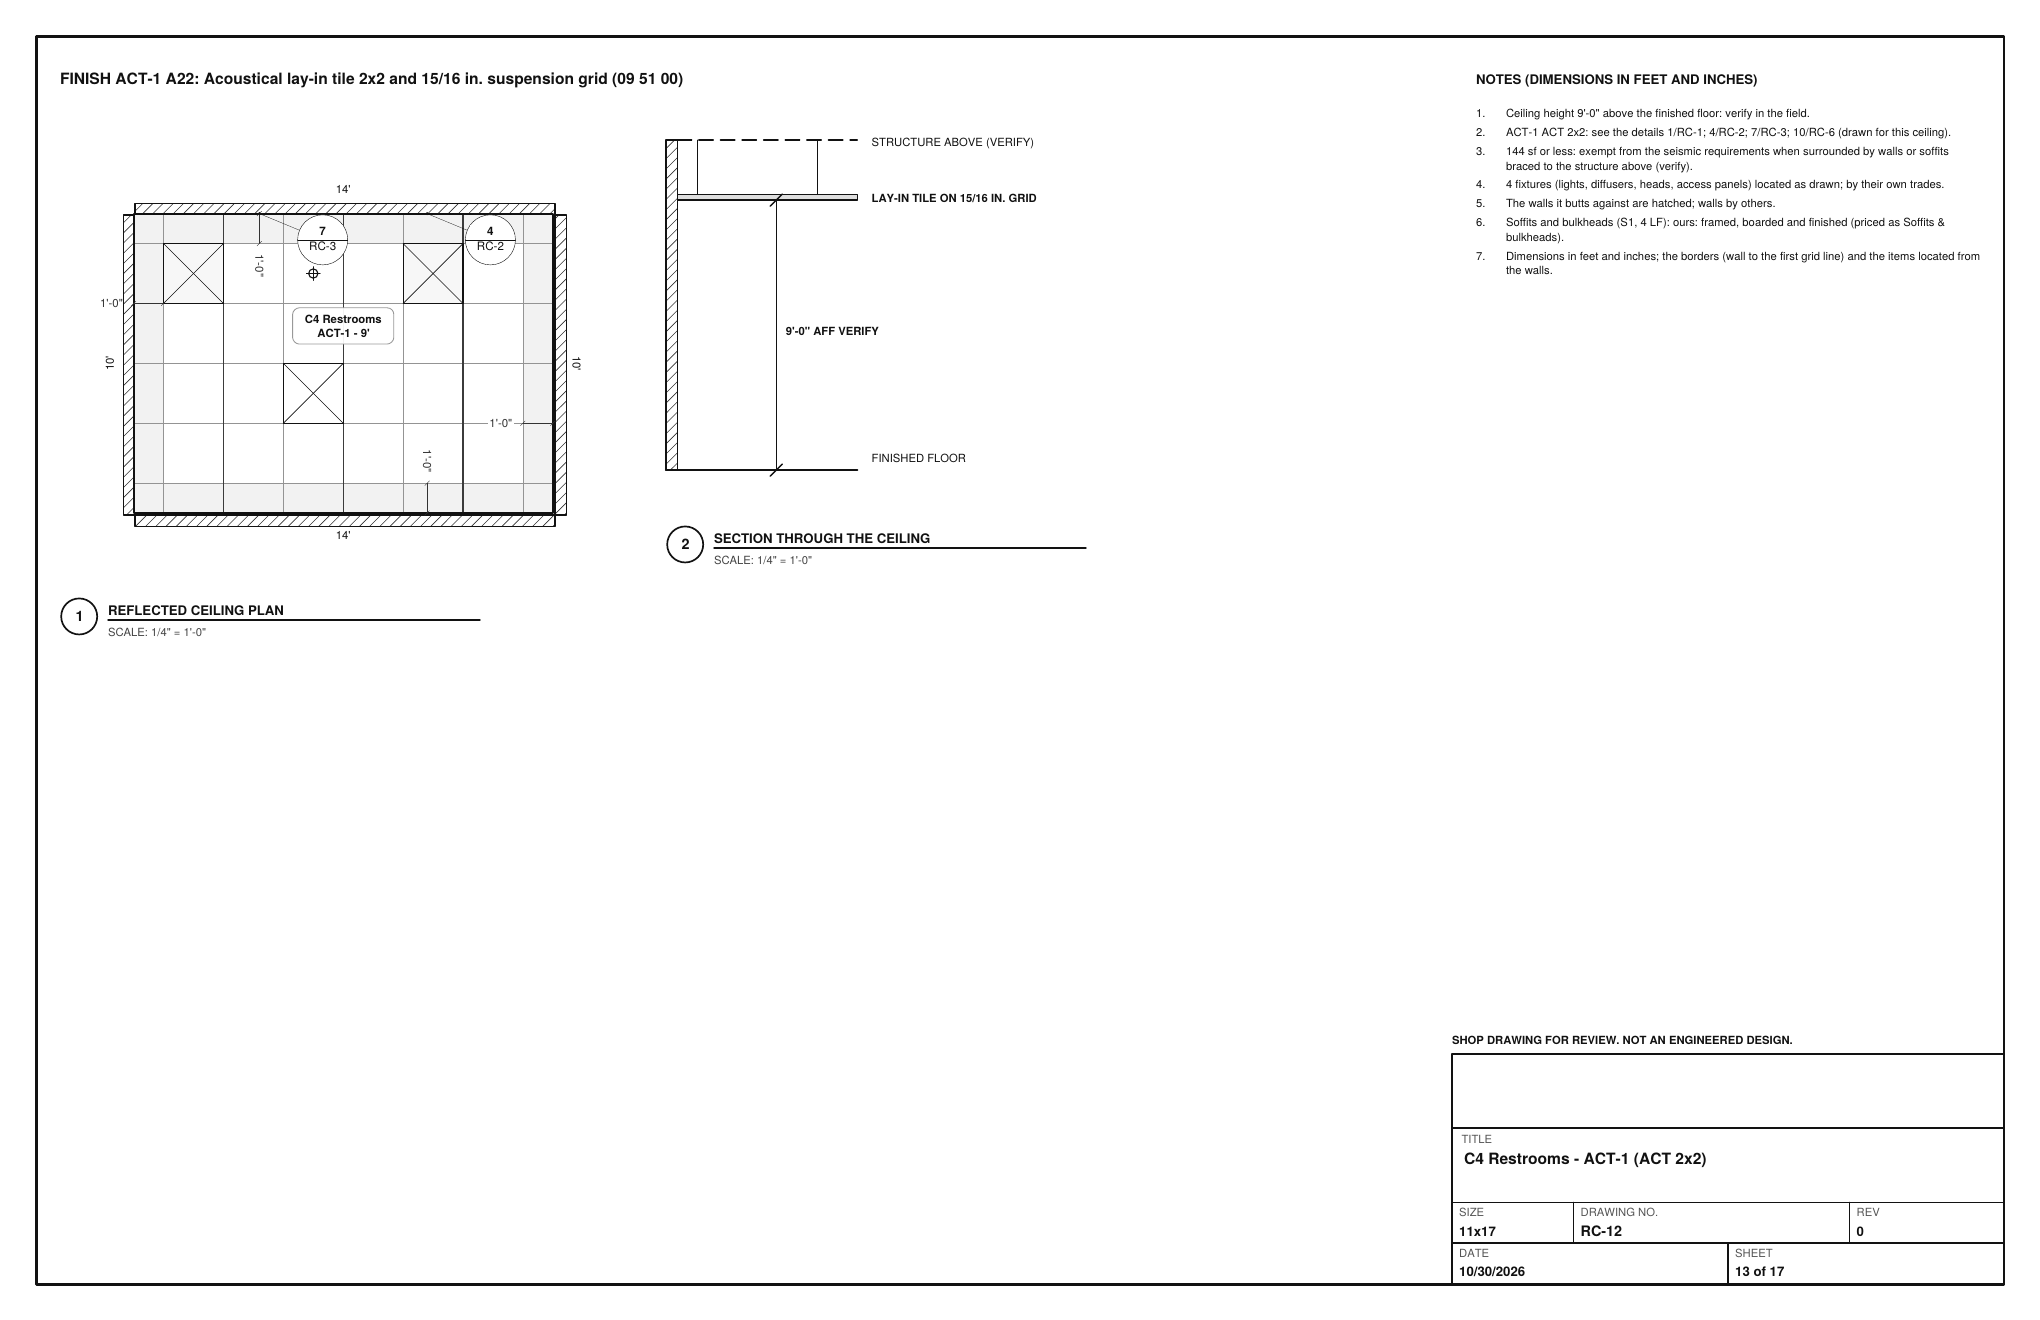
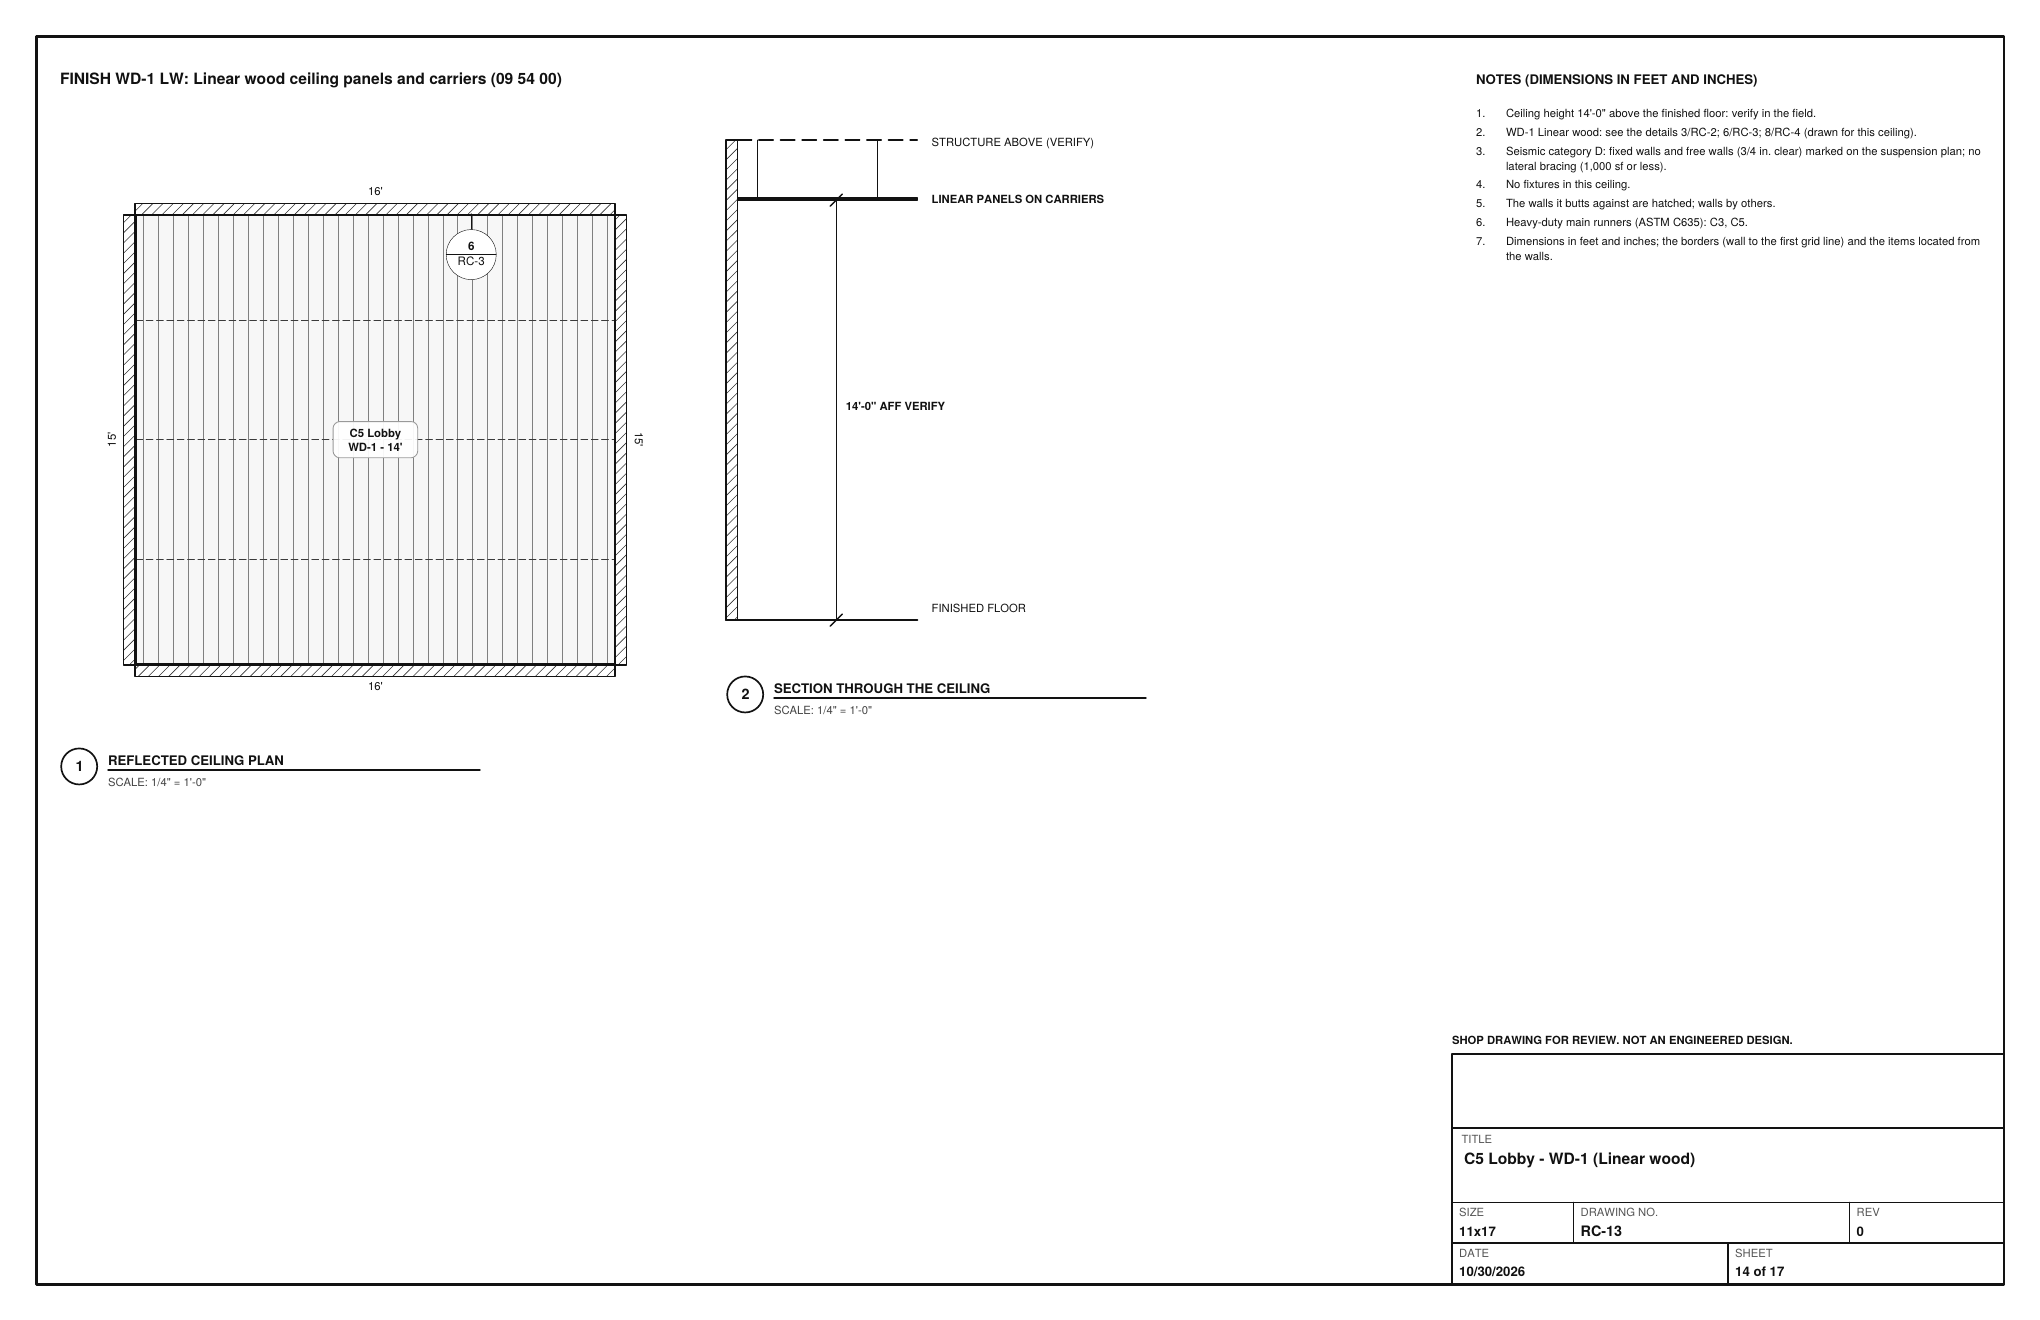
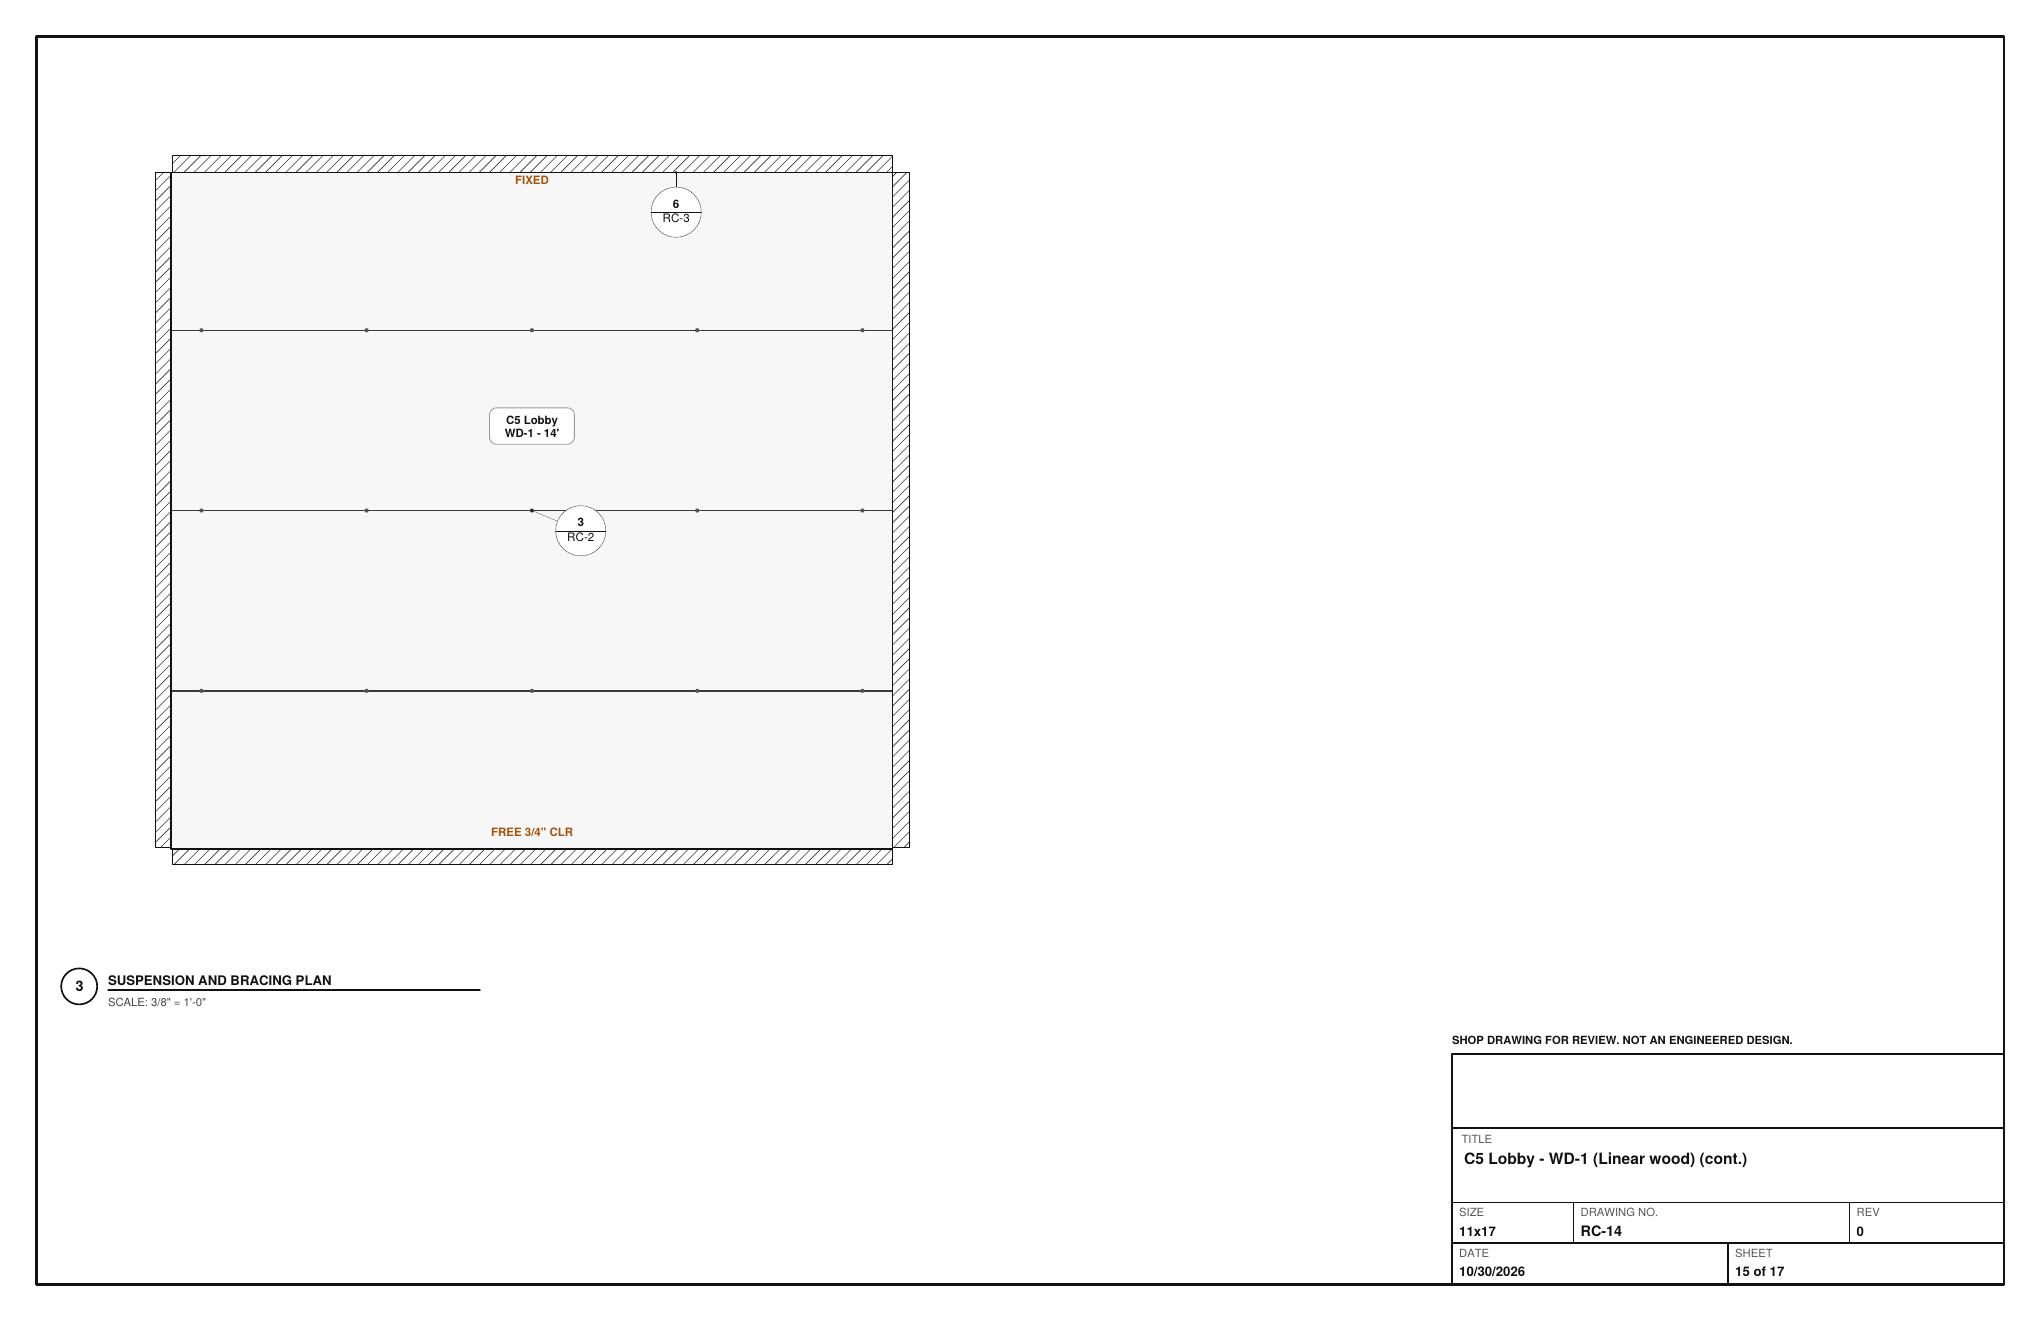
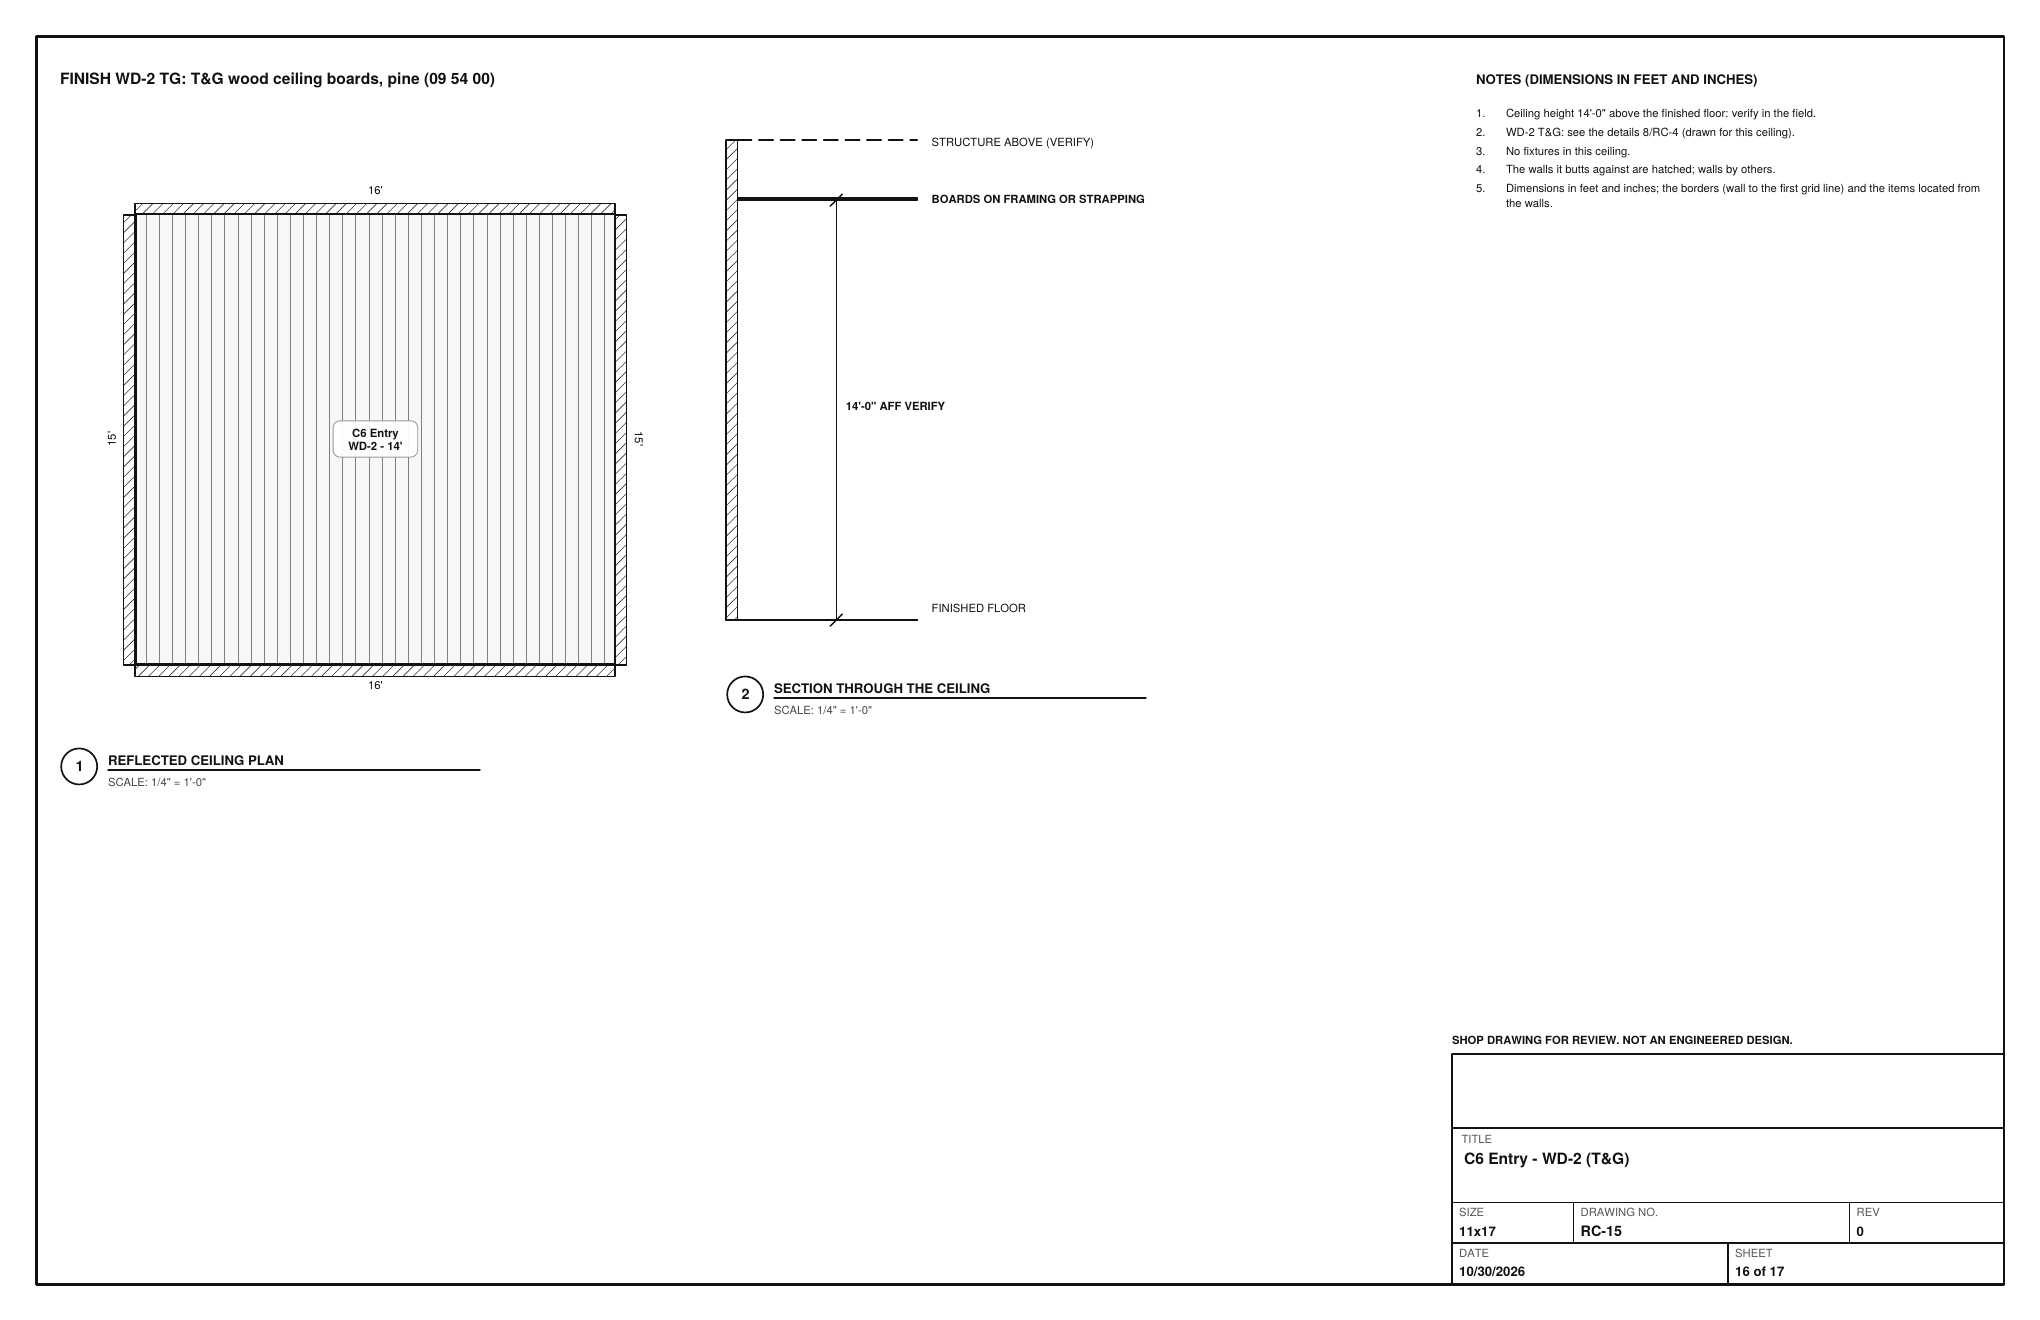
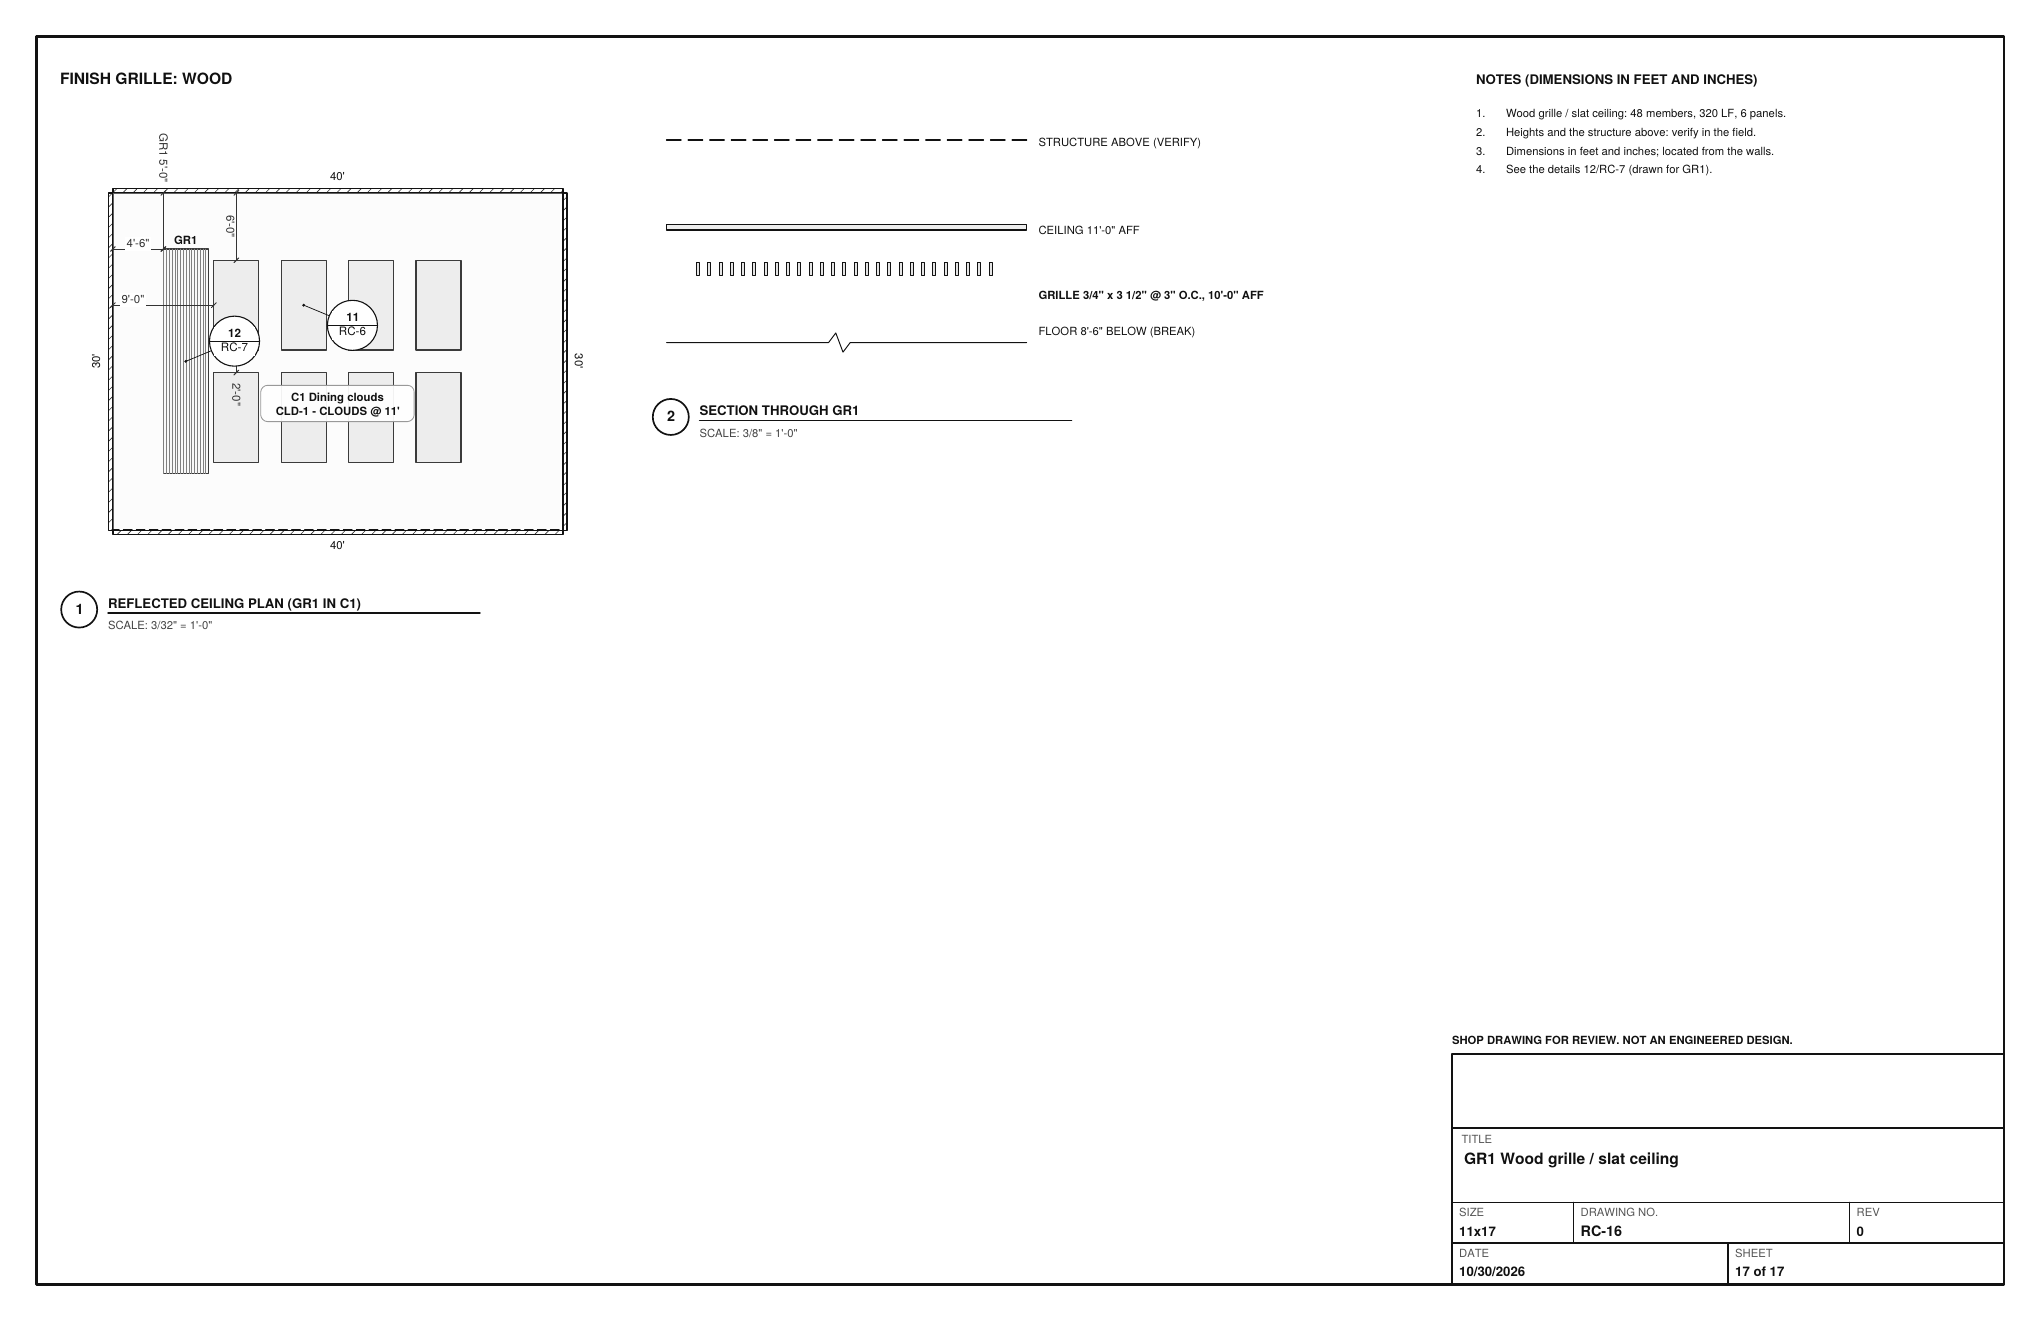
Open the sample, change it to your measurements, and send it to a BidRidge quote. Drawing is free; the drawing set, the lists and the quote come with a BidRidge license or the 14-day trial.
In the designer, tap Open project and pick the sample file. It opens exactly as in the video.
Sample designs: names, sizes and clients are made up. Prices are BidRidge's starting rates; set your own. The designers check against common guidelines (IRC, NKBA and the makers' published numbers) to help you catch mistakes. They don't replace your building department or the manufacturer's installation instructions: verify with them.